


FAQ, Getting started
How To Apply Multiple Layers Of Epoxy Resin
Nov
How to Apply Multiple Layers of Epoxy Resin
Are you planning to create a unique design or desired thickness using multiple layers of epoxy resin? Then, you need to be patient and wait for the right time before applying the next layer. In this article, we will guide you on how to apply multiple layers of epoxy resin to achieve your desired results.
Understanding the Tacky Window
The tacky window is the stage of the curing process where the epoxy is still a little bit tacky but strong enough to receive the next layer. The molecule chain is not completely closed, and a physical and mechanical bonding can occur when the next layer is added. You can determine the tacky window by touching the surface of the previous layer. If the epoxy does not stick to your finger but leaves small marks of your fingerprints, then it’s ready for the next layer.
If you miss the tacky window, do not worry! Your epoxy is fully cured, and you can still add another layer as long as the surface is clean and free of any contamination. However, it is best to lightly sand the surface before re-pouring to ensure proper adhesion of the next layer. Sanding creates peaks and valleys, which will help the next layer bond to the previous one.
Choosing the Right Product for Thin Layers
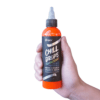
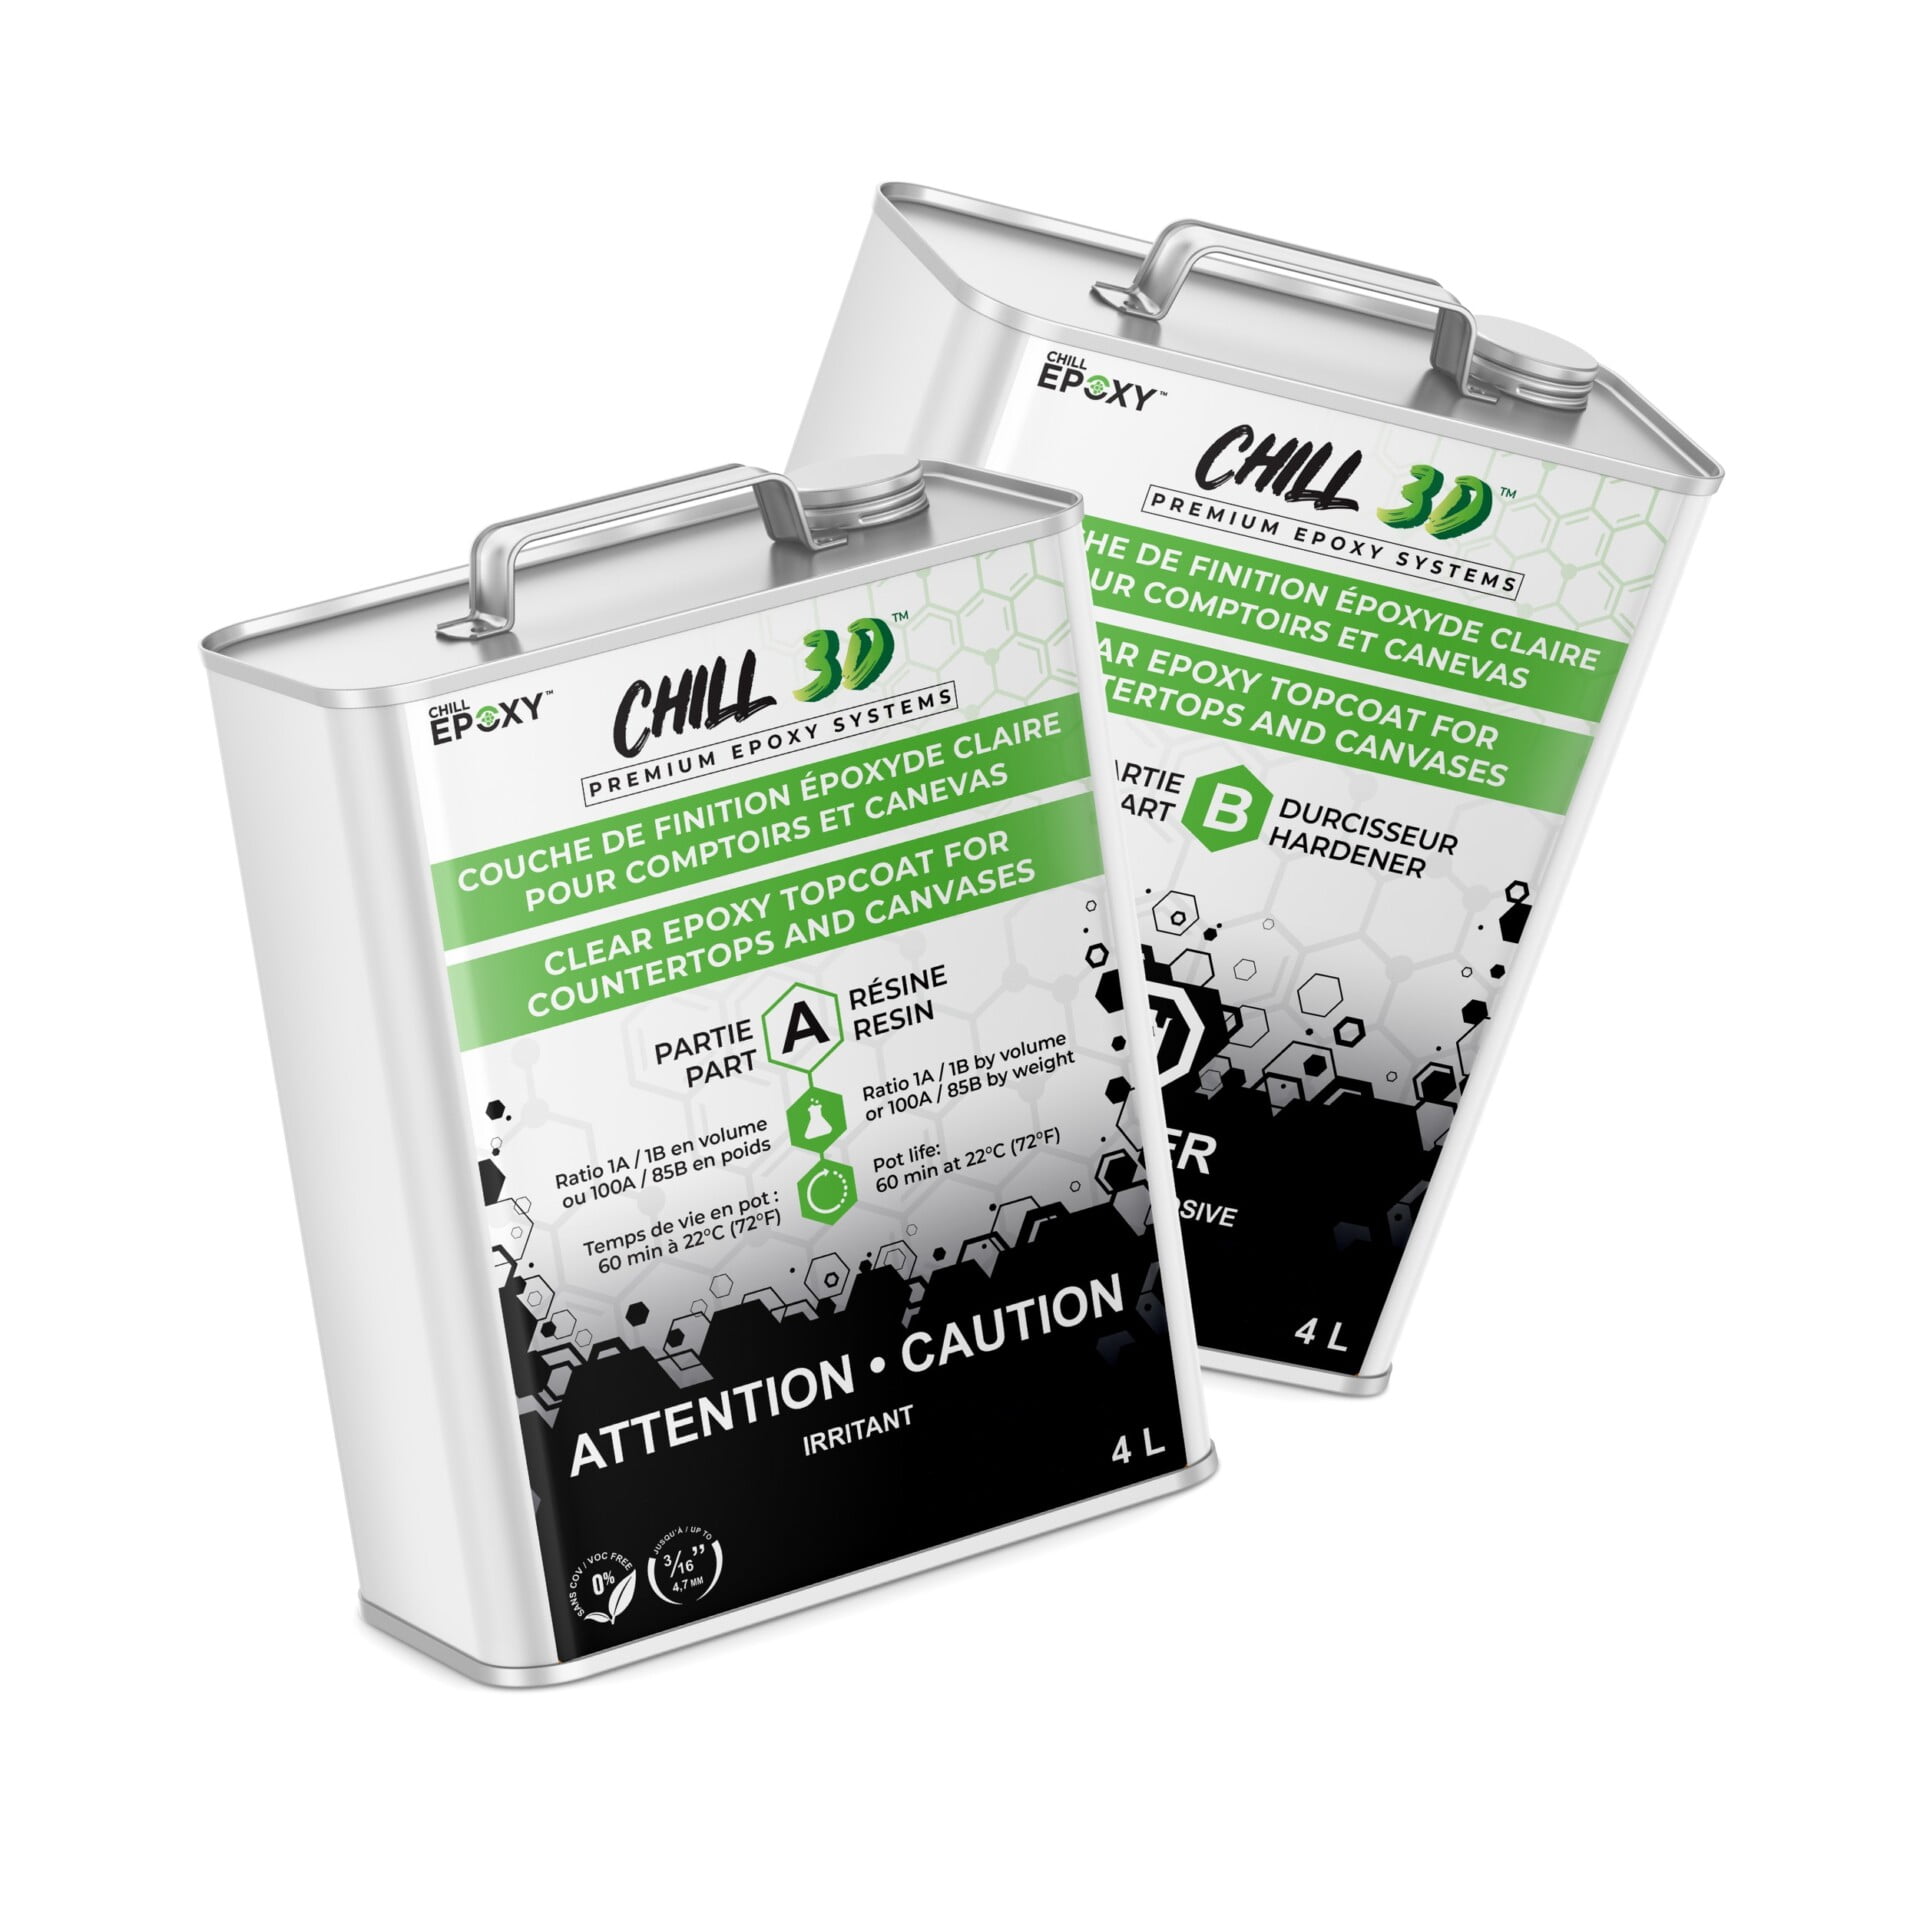
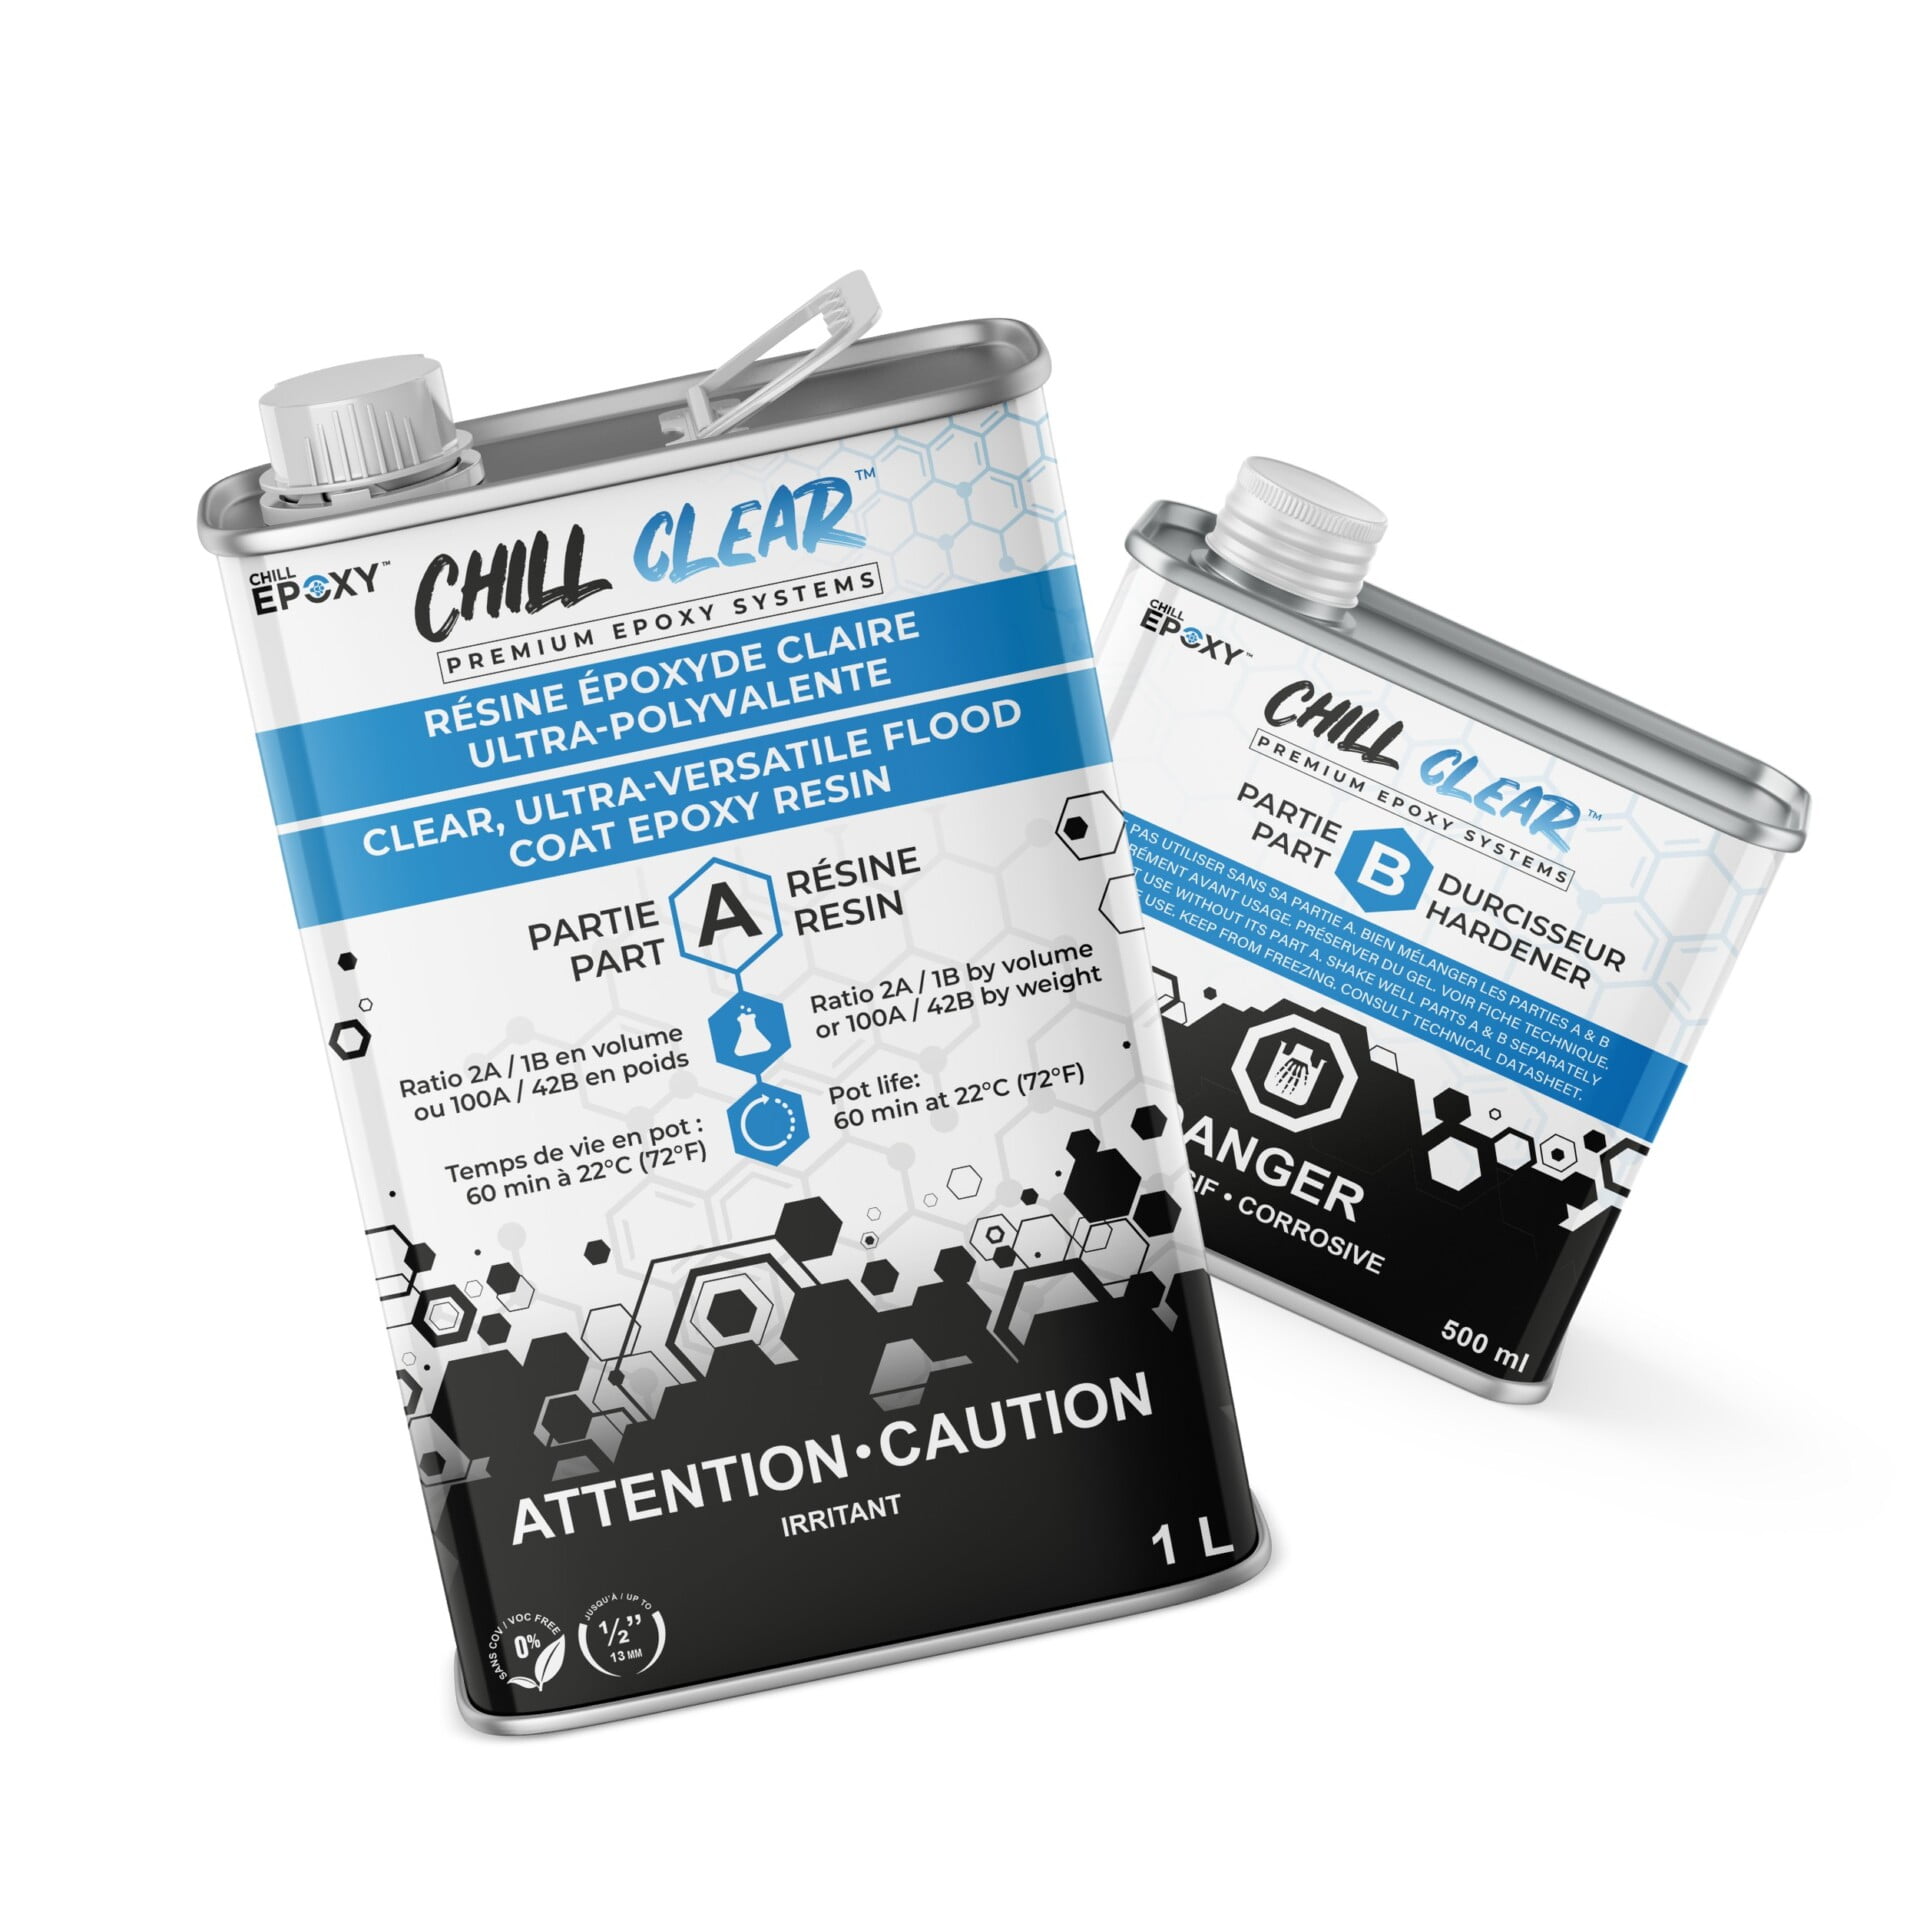
If you’re planning to apply thin layers of epoxy, we recommend using the CHILL CLEAR (2:1) – Low Viscosity Clear Fast-Setting Epoxy. This product is ideal for layers between 1/16 up to 1/2 inch thick. It has a pot life of 60 minutes and fully cures in less than 72 hours at 22C/72F. For a thin layer, the CHILL CLEAR (2:1) will usually reach the tacky window between 12-24 hours.
Steps to Apply Multiple Layers of Epoxy Resin
Now that you understand the tacky window and have chosen the right product for your project, here are the steps to apply multiple layers of epoxy resin:
Step 1: Prepare the surface. Ensure that the surface is clean, dry, and free of any debris or contaminants.
Step 2: Mix the epoxy. Follow the manufacturer’s instructions for mixing the epoxy. Ensure that the mixture is well blended and free of any bubbles.
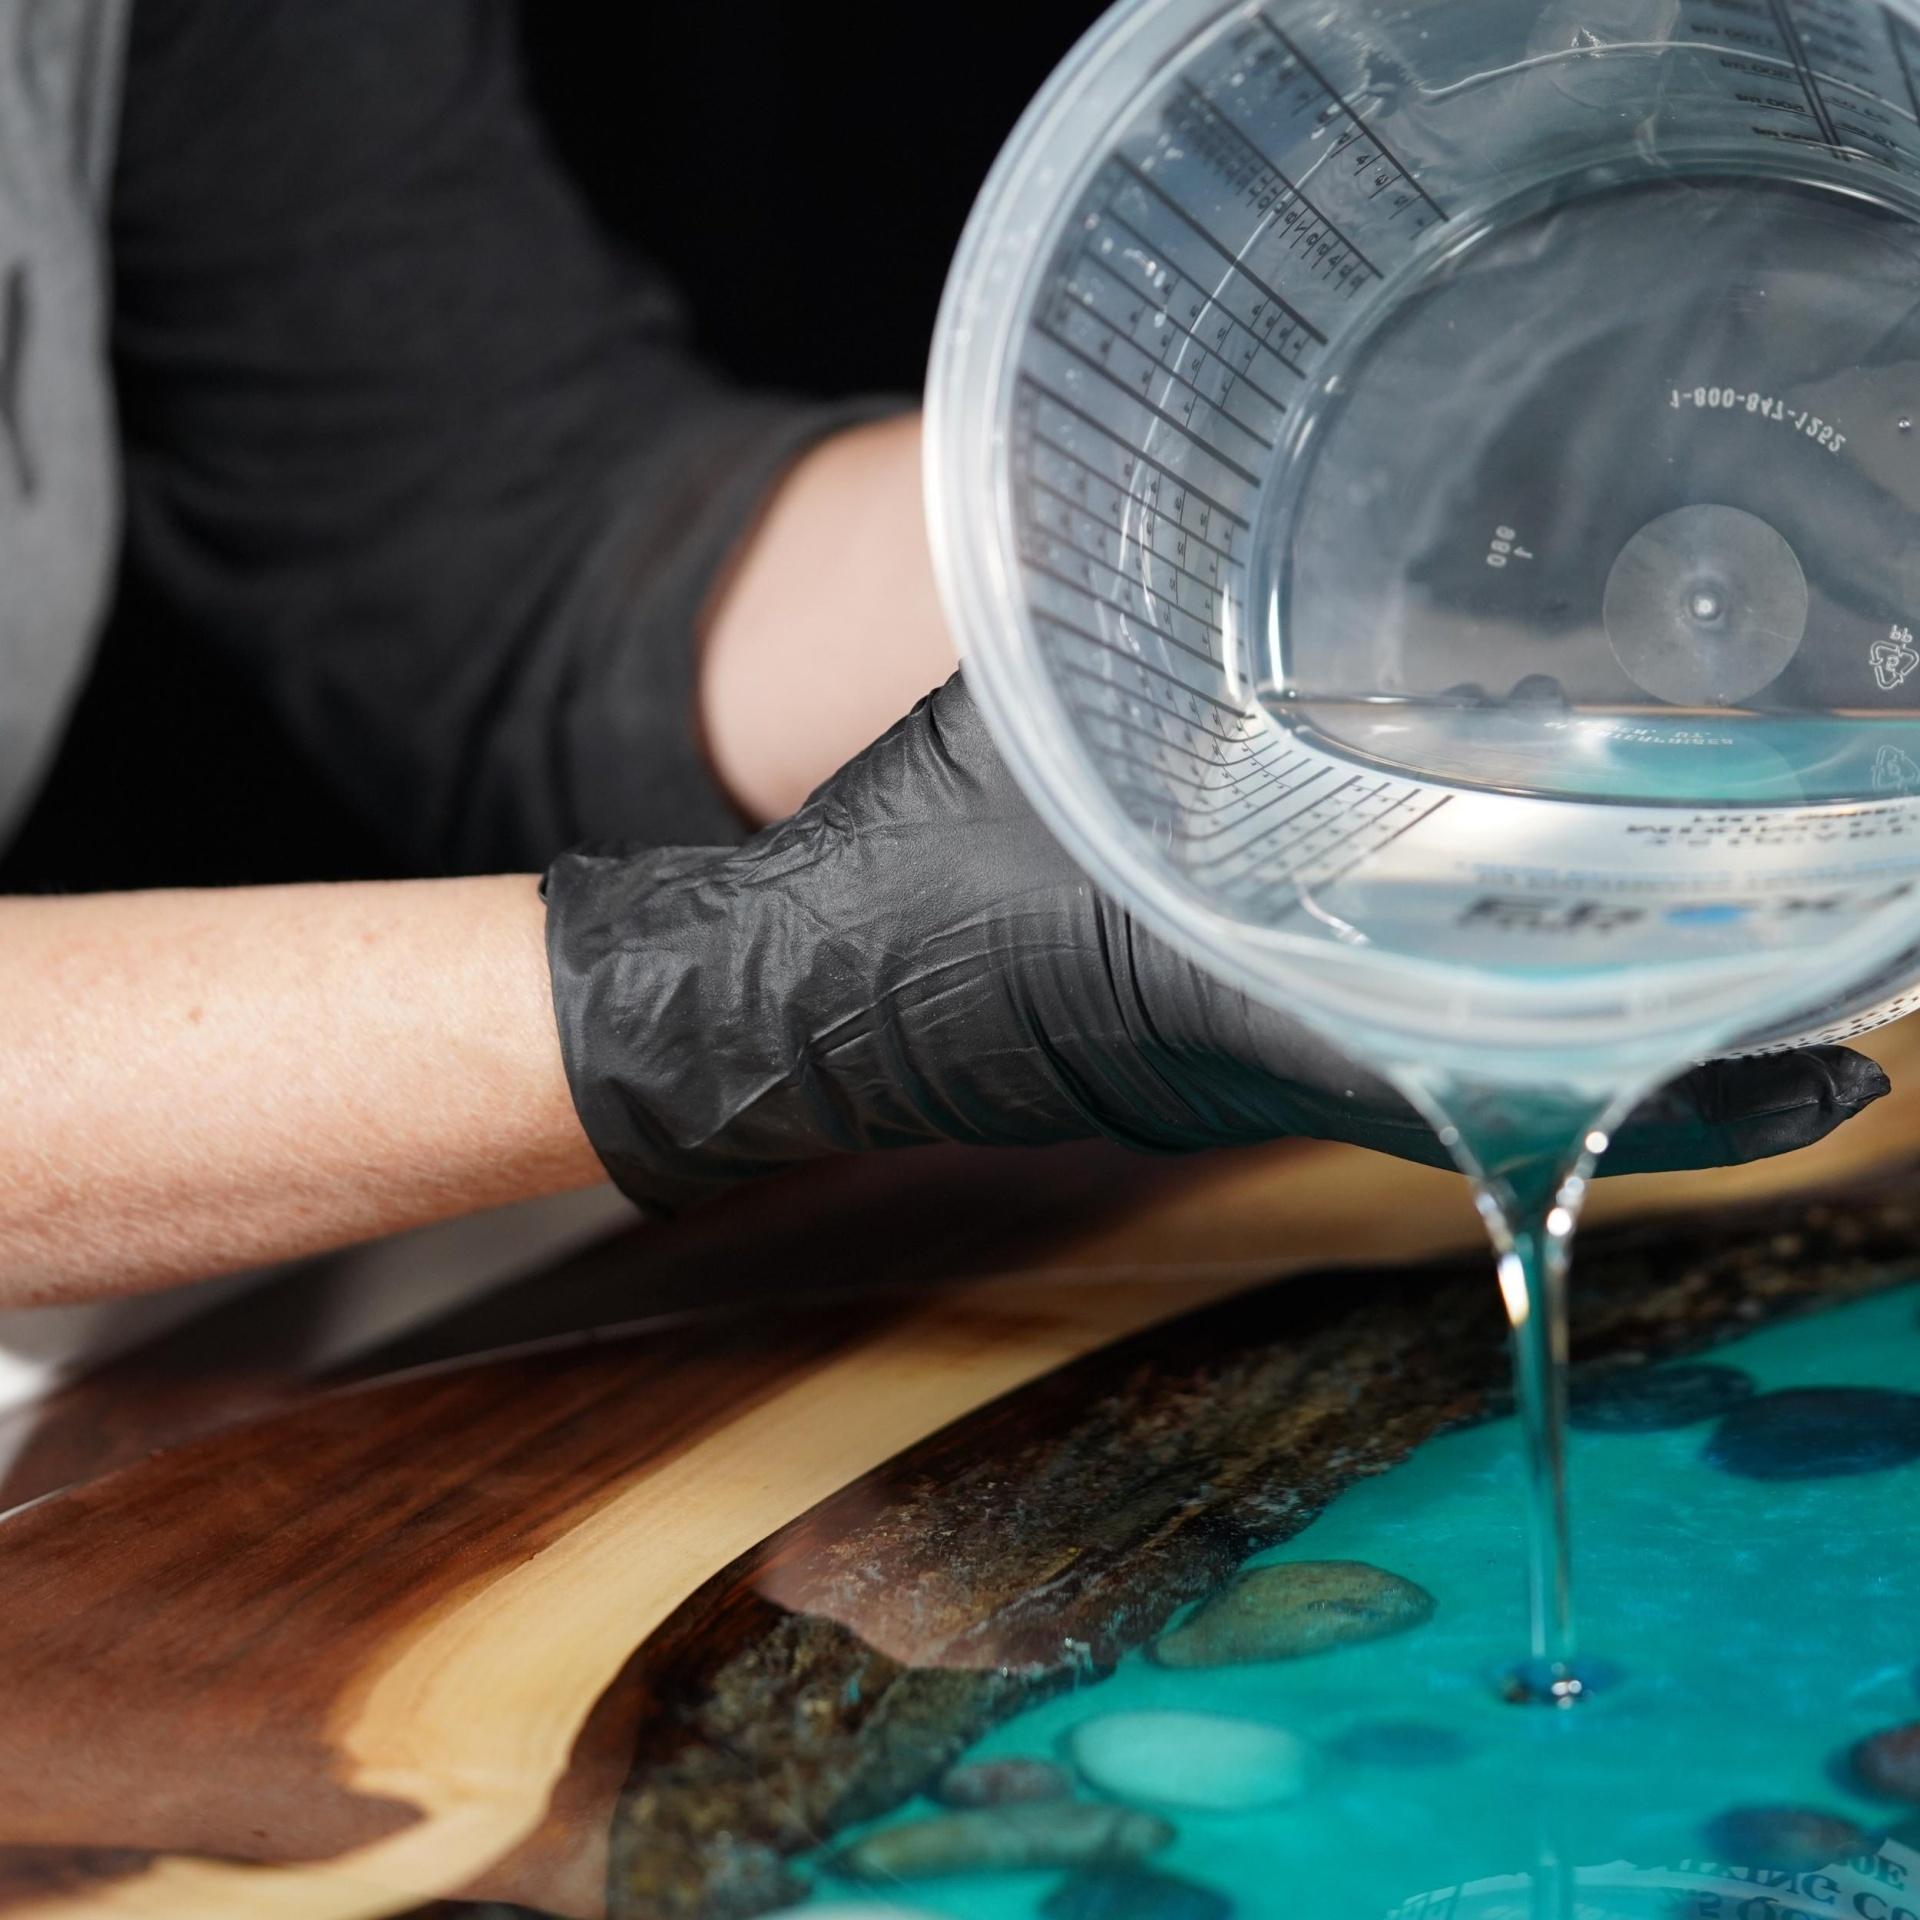
Step 3: Apply the first layer. Pour the epoxy onto the surface and spread it evenly with a foam roller or brush. Let it cure until it reaches the tacky window.
Step 4: Apply the next layer. Once the previous layer reaches the tacky window, apply the next layer following the same steps as the first layer.
Step 5: Repeat the process. Continue to apply additional layers until you achieve your desired thickness or design.
Step 6: Allow to cure. Let the final layer cure completely according to the manufacturer’s instructions.
Conclusion
Adding multiple layers of epoxy resin is a great way to achieve unique designs, 3D effects, encapsulate objects or mix different colors. It requires patience and proper procedures to ensure a successful outcome. Understanding the tacky window, choosing the right product for your project, and following the steps above will help you achieve your desired results. With the CHILL EPOXY resins, you can be assured of a high-quality finish.
