

 Français
Blog, Mixing process
Epoxy Mixing Techniques Essential Tips
Dec
Perfect Epoxy Mixing Essential Tips
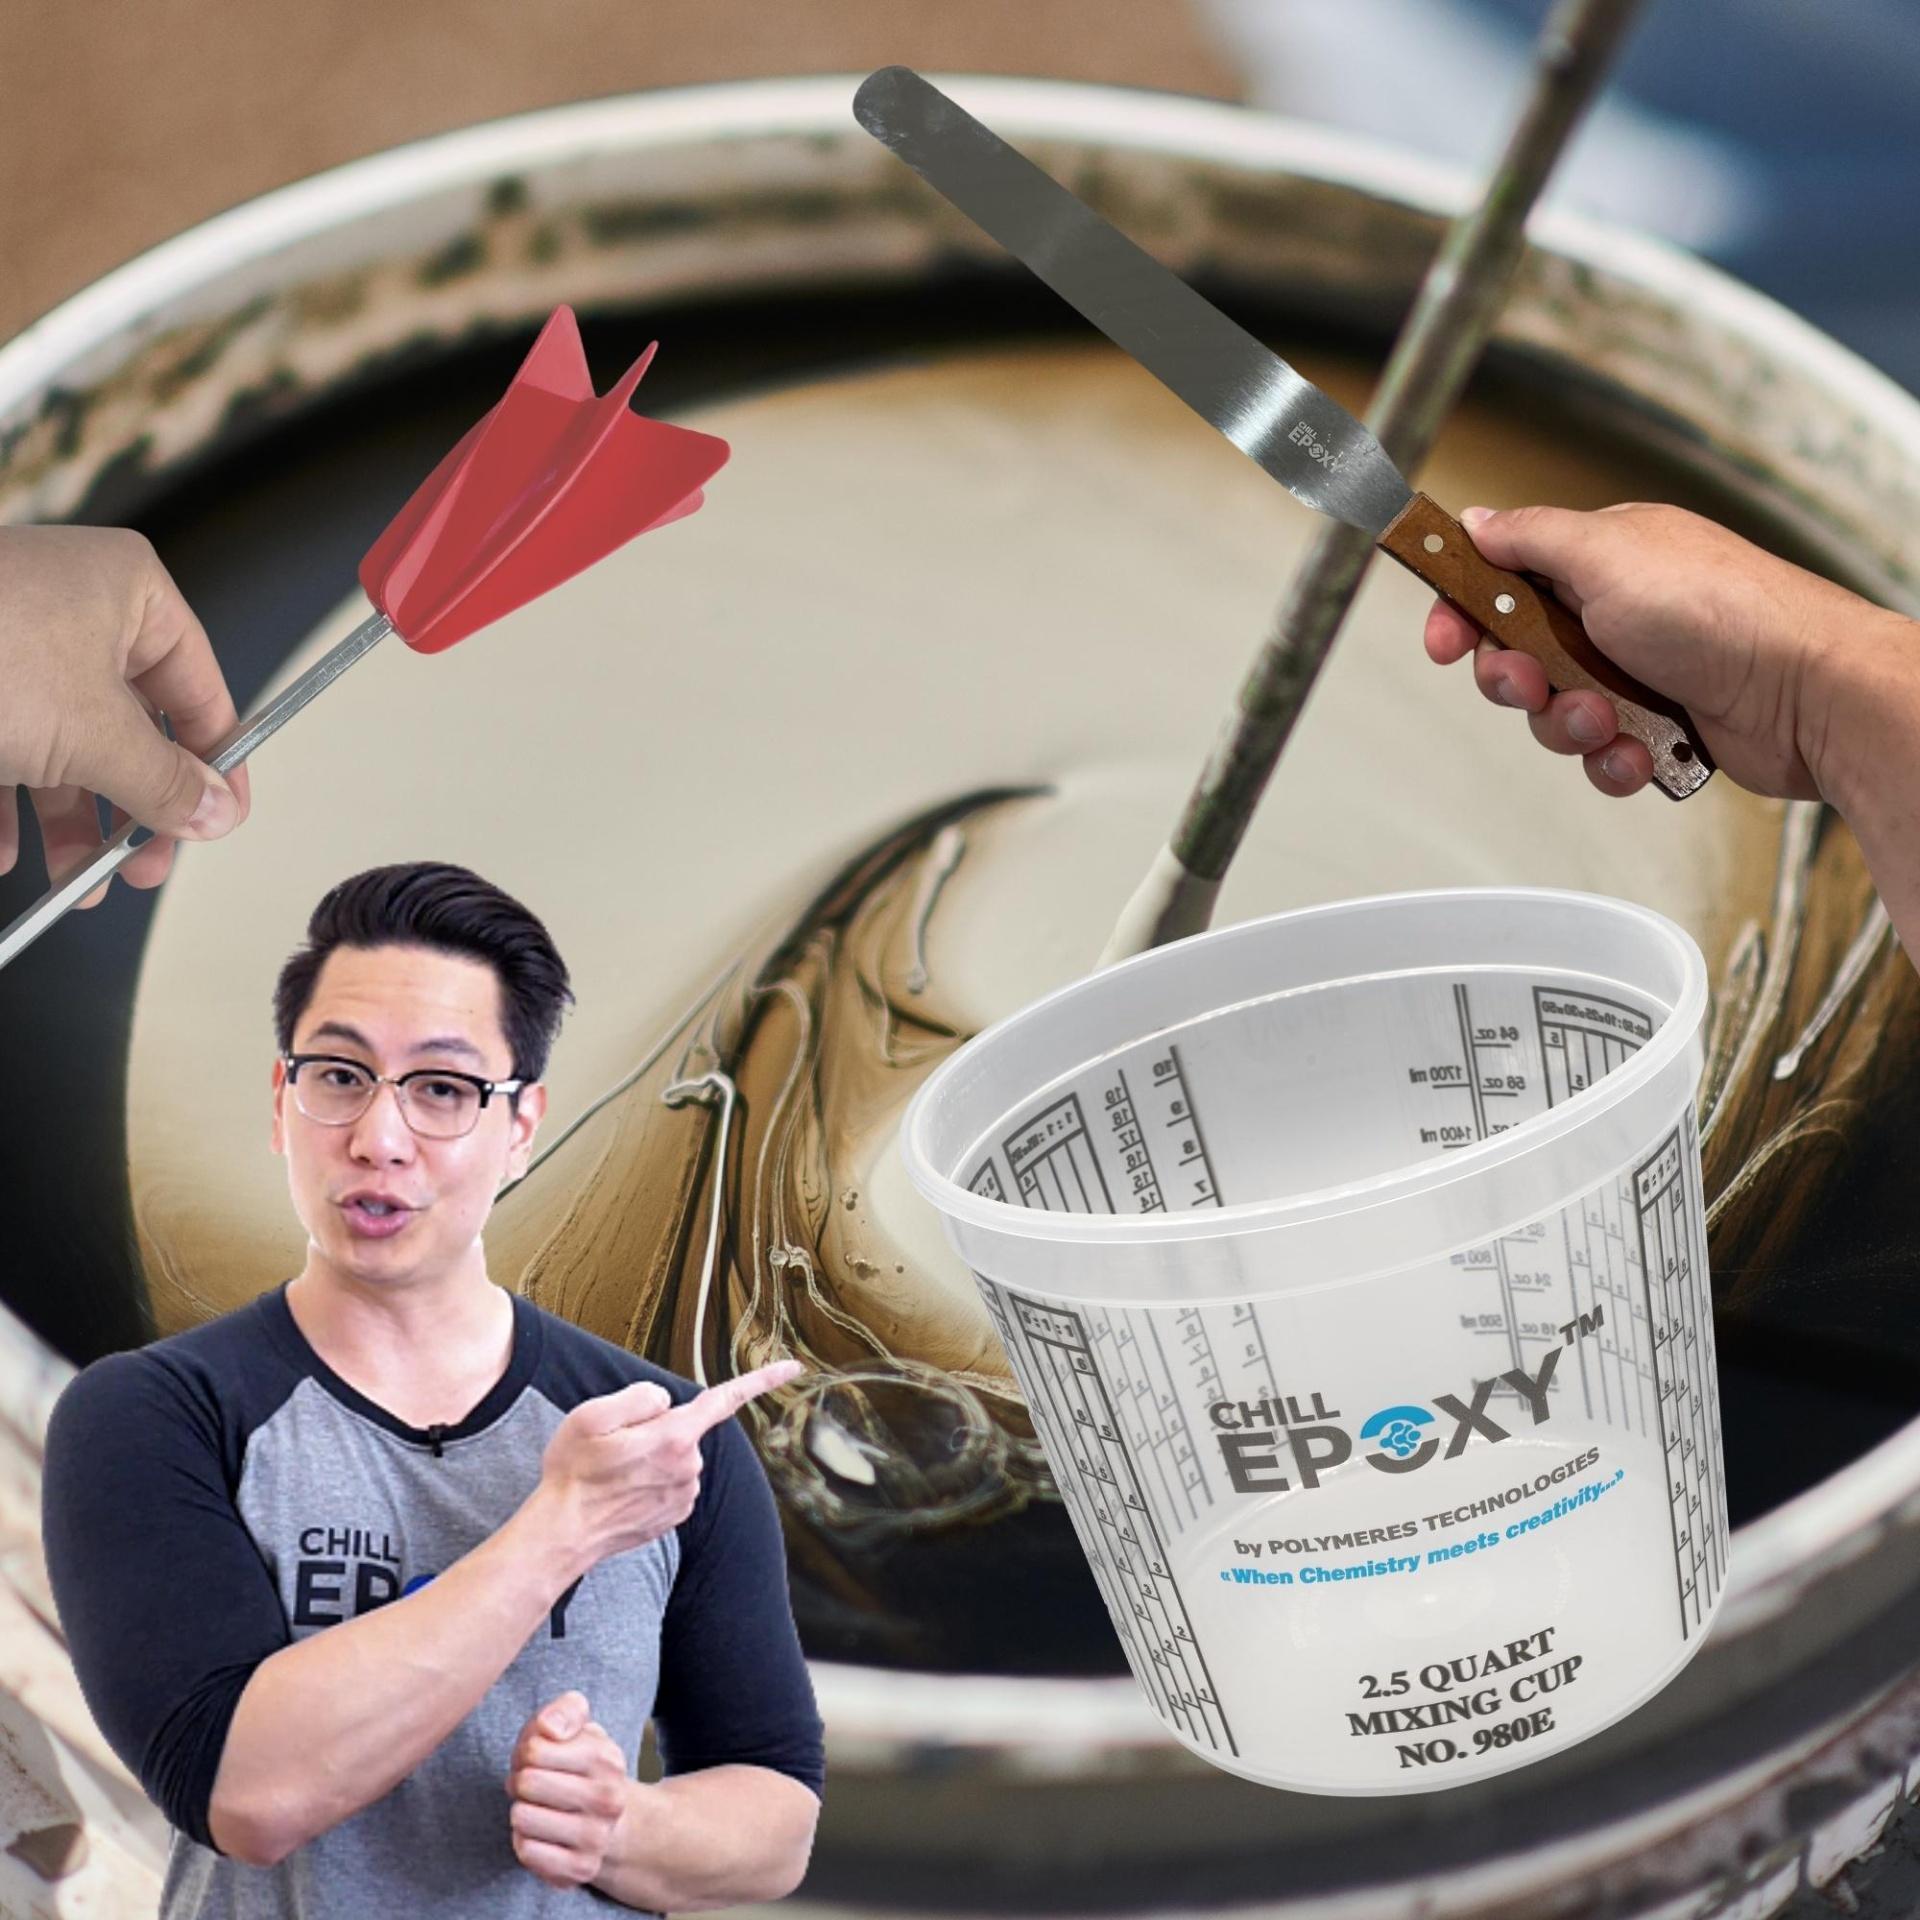
Epoxy Mixing Techniques Essential Tips. There are a few techniques for mixing epoxy resin that can help ensure a thorough and consistent mix. One common technique is to use a metallic mixing spatula or stirrer to slowly and thoroughly combine the resin and hardener, taking care to scrape the sides and bottom of the mixing container to ensure that all of the material is blended together. It is also recommended to mix for at least 3-4 minutes for small quantities 200ml or less and 8-10 minutes for bigger quantities. It is recommended to mix longer especially when mixing manually with a mixing spatula.
Another technique is to use a mixing machine/ drill mounted mixing paddle/Jiffy mixer, which can also be a better way to achieve a consistent and homogeneous mix, especially if you are working with larger quantities of epoxy. Make sure you still scrape the sides and bottom of the mixing container throughout the process to ensure a perfectly homogeneous mixture. It is important to note that, using the right proportion of resin and hardener is also crucial, if not adhered to can cause issues like not curing properly or creating bubbles while curing.
A lot of people minimize the importance of the measuring, weighing and mixing of parts ”A” and ”B” of the CHILL EPOXY™ systems. The epoxy resin mixing is the most important step in the processing in order to get the best possible results. So before you use the CHILL EPOXY™ products for the first time, we recommend that you learn the 5 most important steps to avoid any unpleasant surprises.
The best tools for mixing epoxy resin include and where to buy them.
- Mixing cups: clear plastic cups with measuring marks on the sides that are specifically designed for mixing and measuring epoxy resin.
- Metal Spatula or Jiffy Mixer: avoid wooden sticks to mix the epoxy resin and hardener.
- Disposable gloves: to protect your skin from the resin.
- Mixing containers: use plastic or metal containers to mix the resin and hardener, as epoxy can etch and discolor some types of containers.
- Spreaders, rollers and spatulas: to apply the epoxy evenly.
It is important to use clean and dry tools for mixing epoxy as any dirt, oil or moisture can compromise the curing process.
When mixing epoxy resin and hardener, it’s generally best to use tools that are easy to clean and will not react with the epoxy. Wooden stir sticks can absorb moisture and can be difficult to clean, which can compromise the curing process of the epoxy. Additionally, wood sticks can also leave wood fibers on the mixture which can cause bubbles on the final surface.
Using a metal spatula, on the other hand, can be a good alternative as it can be easily cleaned, it is durable and it does not absorb moisture. Metal tools are also less likely to scratch the surface of the mixing container, and can be used to scrape the sides of the container to ensure a thorough mixing.
Additionally, a metal spatula is also useful when it comes to apply the epoxy, as it can be used to spread the epoxy evenly and create a smooth surface.
In summary, using a metal spatula instead of a wooden stir stick when mixing epoxy can be more hygienic, and less likely to compromise the curing process or create bubbles in the final surface.
If epoxy resin and hardener are not mixed properly, the resulting mixture may not cure properly, or may have reduced strength and durability.
Epoxy: Mixing for Durability
Epoxy resin will yellow over time if it is not mixed properly. When epoxy resin and hardener are not mixed properly, the resulting mixture may not cure completely. This means that some of the resin and hardener molecules may not fully react, leaving “free” or “unreacted” molecules in the molecular chain. These free molecules can weaken the strength and durability of the final product and make it more susceptible to damage from external factors such as UV. In the curing process of the epoxy, the resin and the hardener have to react to form a polymer. The correct ratio between the resin and the hardener is important to obtain a full reaction and the correct curing. When not mixed properly, the resin and the hardener may not have the correct ratio and the curing reaction may not be complete, leaving free molecules of either resin or hardener.
To prevent this issue, it’s important to follow the Polymeres Technologies’ instructions carefully when mixing the epoxy and to mix the resin and hardener thoroughly to ensure a complete and even cure. This can happen when the epoxy is not mixed in the correct ratio, or if the mixture is not thoroughly mixed. If the resin and hardener are not fully reacted, the resulting mixture may not have the same level of UV resistance as a properly mixed epoxy, which can lead to yellowing when exposed to sunlight.
Here are some common issues that can occur if epoxy is not mixed properly:
- Incomplete curing: If the epoxy is not mixed in the correct ratio, the resin and hardener may not fully react, leading to an incomplete curing process. This can result in a weaker bond and less durable final product.
- Uneven curing: If the epoxy is not mixed thoroughly, the mixture may have pockets of unmixed resin or hardener, which can result in uneven curing. This can lead to weak spots in the final product.
- Discoloration: if not mixed properly, epoxy can discolor over time, specially if exposed to UV light
- Bubbles: Air bubbles may appear if the epoxy is not mixed properly, this can weaken the strength and durability of the final product, specially in applications such as clear coatings
To prevent these issues, it’s important to follow the Polymeres Technologies’ instructions carefully when mixing the epoxy and to mix the resin and hardener thoroughly to ensure a complete and even cure.
Epoxy Mixing Techniques Essential Tips
#1: WORKING TEMPERATURE ENVIRONMENT:
The CHILL EPOXY™ products are thermosetting products so it reacts to temperature. Low temperature below 72°F will slow down the curing time.
Warmer temperature higher than 72°F will make the CHILL EPOXY™ products react faster.
STEP #2: MIXING RATIO IN WEIGHT/VOLUME:
Make sure you use the appropriate mixing ratio in volume or weight. Do not reverse ratio in weight and volume. The density of resin and hardener may often differ. Remember, when you see a ratio of 2A/1B
or 1A/1B, it is always in volume. When you see 100A/42B for instance, it is in weight.
STEP #3: USING THE RIGHT TOOLS FOR MIXING:
For small quantities, a metal spatula is the appropriate tool to use. For large quantities, a jiffy mixer is the best tool to use.
STEP #4: USE CLEAN CONTAINERS
Remember to use clean tools and containers as well. Dirty tools and containers may bring up contamination of the resin.The sides of the mixing tool must be straight so that the material adhering to the sides and bottom is also mixed thoroughly. Make sure to scrape sides and bottom of containers on a regular basis in order to get the best homogeneous mix possible. Do not underestimate the importance of using the appropriate tools and containers. You can get these tools and containers directly from CHILL EPOXY™.
STEP #5: USE ONLY THE CHILL DROPS PIGMENTS TO COLOR YOUR RESIN
When pigmenting your CHILL EPOXY™ resin, it is therefore imperative to use only both the CHILL DROPS PIGMENTS transparent or opaque . These 100% solid premium reactive pigments (no VOC) have been formulated based on the CHILL EPOXY™ formulations and are totally compatible with them. Avoid universal pigments or any alcohol base colors.
CONCLUSION:
In conclusion, proper mixing of epoxy resin and hardener is essential for achieving a strong and durable final product. Improper mixing can result in incomplete curing, uneven curing, discoloration, bubbles, and weakening of the final product. To avoid these issues, it’s important to follow the manufacturer’s instructions when mixing the epoxy and to mix the resin and hardener thoroughly. Proper mixing will also ensure that the final product will be less susceptible to external factors such as oxidation, UV light or humidity. Moreover, using proper tools, mixing technique and proper time will also help to increase the longevity and durability of the final product. With the right approach, you can ensure that your epoxy projects will be successful and long-lasting.
Shop our best mixing tools here