

 Français
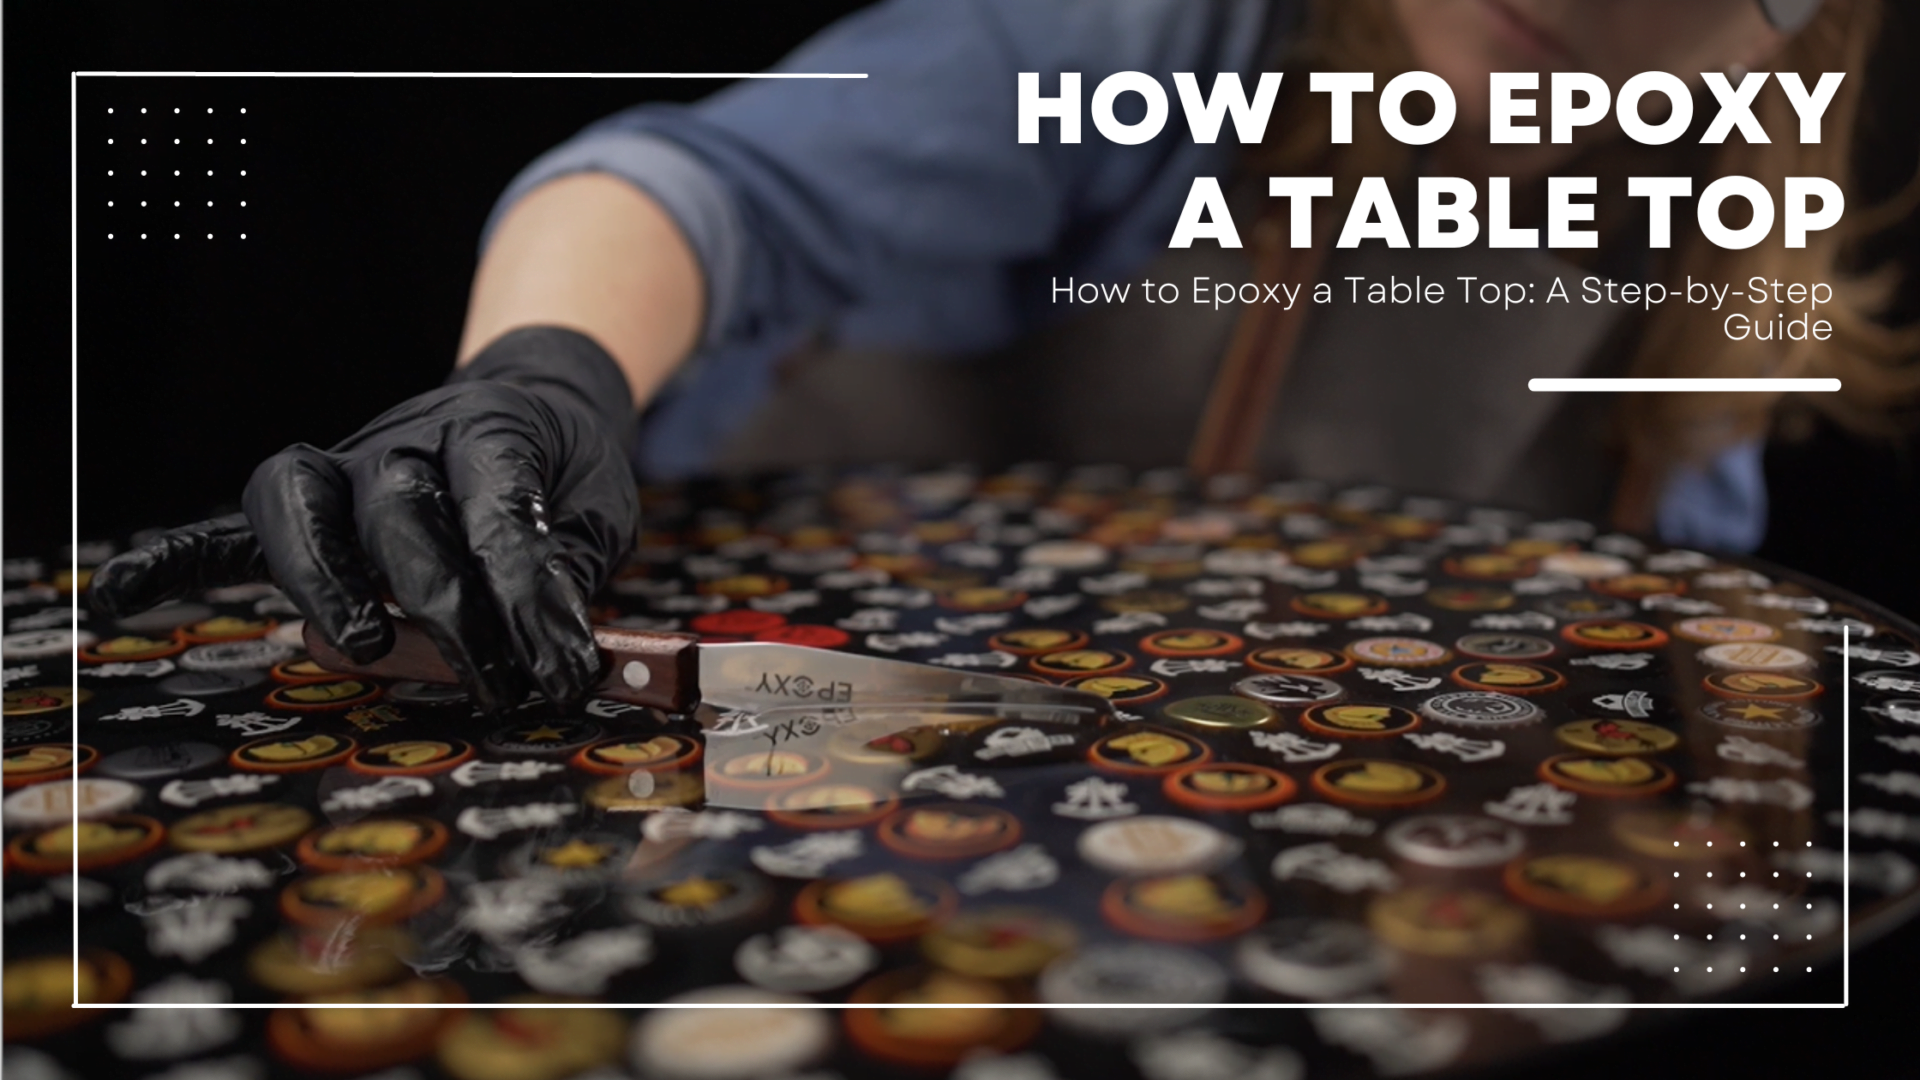
Feb
How to Epoxy a Table Top: A Step-by-Step Guide
Epoxy is a popular material for sealing and coating table tops, making them resistant to damage, water, and heat. The result is a smooth, glossy, and durable surface that can last for years. Whether you want to protect a wooden table top, create a decorative piece, or just make your furniture look better, epoxy is a great solution. But before you start, you need to understand how to apply it correctly and answer some common questions such as “How many coats of epoxy do I need for a table top?” or “What do you put under an epoxy table?” Here’s a comprehensive guide on how to epoxy a table top.
Epoxy is a two-part resin that hardens when mixed together, creating a strong and resistant coating. It comes in different colors, finishes, and sizes, so you can choose the one that best fits your needs. To apply epoxy to a table top, you’ll need some basic tools, such as sandpaper, a clean cloth, a roller, a brush, and a measuring cup. The process is relatively easy, but it requires patience and attention to detail. Here’s what you need to know to get started.
 Choosing the Right Epoxy for Your Table Top
When it comes to epoxy, not all products are created equal. Different types of epoxy have different viscosities, pot lives, and curing times, so it’s important to choose the right one for your table top. For best results, it’s recommended to use CHILL 3D™ medium viscosity epoxy with a pot life of 60 minutes. This epoxy is ideal for table tops because of its higher viscosity, which will result in a thicker layer and more depth and protection for your table. Additionally, its higher viscosity means you will lose less material from the edges of your table top.
Not only is CHILL 3D™ medium viscosity epoxy perfect for table tops, but it is also recommended for coating the sides of your table. This will provide even more protection and durability for your table, ensuring it will last for years to come.
When choosing an epoxy for your table top, it’s important to consider not only the viscosity and pot life, but also the curing time and UV resistance. Make sure to choose an epoxy that is specifically designed for table tops and has the right properties to meet your specific needs and requirements.
SHOP CHILL 3D™ – Countertop and Crafting Epoxy Resin
How Many Coats of Epoxy Do I Need for a Table Top?
The number of coats you need depends on the type of epoxy you’re using, the thickness of the coating, and the look you want to achieve. A general rule of thumb is to apply two to three coats of epoxy, allowing each coat to dry completely before applying the next. This will ensure a smooth and even surface that won’t yellow over time. If you’re using a clear epoxy, you may need to add more coats to achieve a thicker and more glossy finish.
What Do You Put Under an Epoxy Table?
Before you start applying the epoxy, you need to make sure the surface of the table top is clean and smooth. You can use sandpaper to remove any rough spots or scratches, then wipe it with a clean cloth to remove any dust or debris. To avoid air bubbles and ensure a flat surface, you may want to use a release agent, such as wax paper or silicone, to cover the table top. This will also help you remove the epoxy later if necessary.
Do You Epoxy Both Sides of the Table?
It depends on the type of table you’re epoxying and the look you want to achieve. If you’re epoxying a wooden table top, you may want to apply the epoxy to both sides to protect the wood from warping or splitting. If you’re using a clear epoxy, you may only want to apply it to the top side to create a glossy and decorative surface. Either way, make sure to follow the instructions on the epoxy package and apply the coats evenly to avoid drips or sagging.
How Thick Should the Epoxy Be on the Table Top?
The thickness of the epoxy depends on the type of epoxy you’re using and the look you want to achieve. Generally, a thick layer of epoxy will create a more glossy and transparent finish, while a thin layer will result in a more matte and opaque finish. The ideal thickness of the epoxy coating is usually between 1/16 inch to 1/8 inch. You can achieve this thickness by applying multiple coats and using a roller or brush to spread the epoxy evenly. Keep in mind that a thicker layer may take longer to dry and cure, so make sure to follow the instructions on the epoxy package and allow enough time between coats.
FAQs
- Can I apply epoxy on a painted table top? Yes, you can apply epoxy on a painted table top as long as the paint is in good condition and free of any cracks or chips. Sand the surface lightly to remove any rough spots and clean it thoroughly before applying the epoxy.
- How long does it take for epoxy to dry on a table top? The drying time of epoxy depends on the type of epoxy, the thickness of the coating, and the temperature and humidity of the room. Generally, it takes 24 to 48 hours for the epoxy to dry and cure completely.
- Can I sand and polish epoxy after it has dried? Yes, you can sand and polish epoxy after it has dried to remove any bumps or imperfections and create a smoother surface. Use fine-grit sandpaper and a polishing compound for best results.
- Can I use epoxy on an outdoor table top? Yes, you can use epoxy on an outdoor table top as long as the epoxy is UV-resistant and specifically designed for outdoor use. This will help prevent the epoxy from yellowing or cracking due to exposure to sunlight and weather conditions.
Conclusion:
In conclusion, epoxy is a great material for sealing and coating table tops, offering a smooth, glossy, and durable finish that can last for years. By following our step-by-step guide and answering questions such as “How many coats of epoxy do I need for a table top?” and “What do you put under an epoxy table?” you can create a beautiful and functional table top that will impress your guests and enhance your home.
When choosing an epoxy for your table top, it’s important to choose the right product for your specific needs. CHILL 3D™ medium viscosity epoxy with a pot life of 60 minutes is the ideal choice for table tops, as it offers a thicker layer, more depth and protection, and less material loss from the edges. Additionally, it is recommended for coating the sides of your table for even more durability and protection. So, if you want to achieve a beautiful and long-lasting result, consider using CHILL 3D™ medium viscosity epoxy for your next table top project.