

 Français
FAQ, Troubleshooting
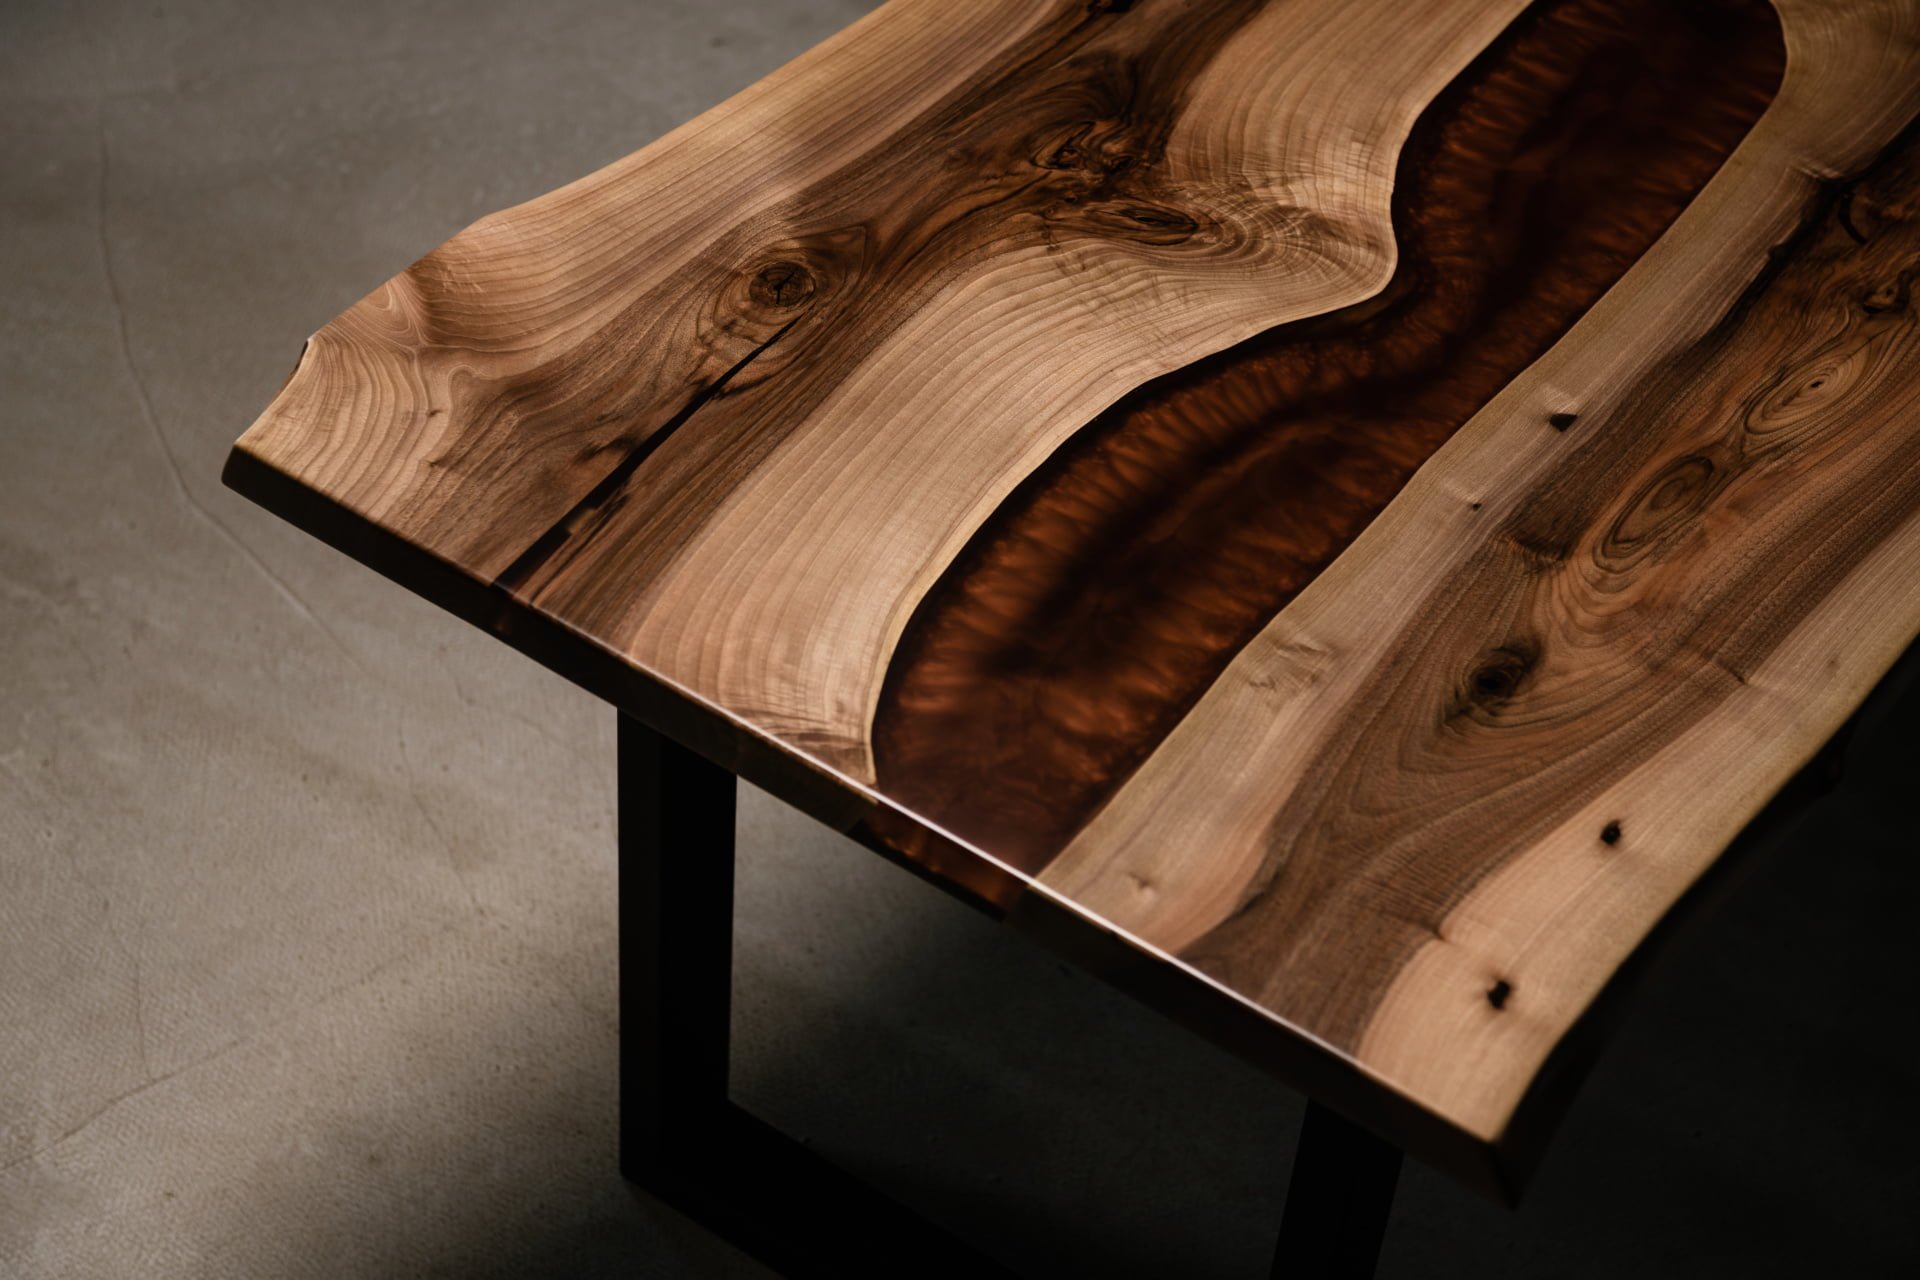
How to Make a River Table Step by Step
Nov
How to Make a River Table Step by Step
Introduction
Epoxy resin has gained popularity as a preferred material for creating stunning river tables. The clear, glossy finish it provides, along with the ability to encapsulate and preserve natural elements like stones and shells, makes it an ideal choice for crafting unique and visually appealing furniture. However, not all epoxy resins are equal, and it’s crucial to select the right one to achieve the desired results. In this article, we will guide you through the process of making a river table step by step, ensuring you have all the necessary information to create a beautiful piece of functional art.
Table of Contents
- Materials Used for River Tables
- What Kind of Wood to Use
- What Kind of Epoxy to Use
- What Material is Used for the Epoxy Table
- Cost
- Beginner Resin
- How Many Gallons of Epoxy
- Best Finish for a River Table
- Safety Precautions
- Choosing the Right Epoxy System
- CHILL ICE 1™ – POURS BETWEEN 1/2 UP TO 1.5″ INCH UP TO 60 LITERS MASS
- CHILL ICE 2™ – POURS BETWEEN 1.5 UP TO 2″ UP TO 60 LITERS MASS
- CHILL DEEP POUR™ – POURS BETWEEN 2″ UP TO 2.5″ INCH UP TO 100 LITERS MASS
- Factors to Consider When Selecting an Epoxy System
- Conclusion
1. Materials Used for River Tables
To create a river table, you will need the following materials:
- Wood
- Epoxy resin (such as Deep Pour Epoxy)
- Tools (e.g., saw, sandpaper, clamps, putty knife, etc.)
- Optional: pigments and additives
- Tape (painter’s tape is often used to create straight lines or prevent resin spillage)
- Finish (such as varnish or wax)
These materials will provide you with the necessary foundation to bring your river table to life.
2. What Kind of Wood to Use
When it comes to choosing the wood for your river table, opt for hardwoods like oak, maple, walnut, or cherry. These woods are known for their durability and aesthetic appeal, making them popular choices among river table creators. Consider the look you want to achieve and select a wood species that complements your vision while being dense and sturdy enough to withstand daily use.
3. What Kind of Epoxy to Use
Choosing the right epoxy resin is crucial for achieving the desired outcome of your river table. Look for a high-quality epoxy resin that meets the following criteria:
- UV resistant: This feature prevents discoloration and yellowing over time, ensuring your river table maintains its original beauty.
- Heat resistant: Epoxy resin can become brittle and crack when exposed to high temperatures, so opt for a product that can withstand heat.
- Food safe: If you intend to use your river table as a dining table, make sure the epoxy resin you choose is safe for food contact.
Clear epoxy resin is the most commonly used for river tables as it allows the wood grain to shine through. Consider using a UV-resistant epoxy resin to protect the table from yellowing over time.
4. What Material is Used for the Epoxy Table
The main material used in creating an epoxy table is, of course, the epoxy resin itself. While the wood provides the structure and support for the resin, it is the resin that gives the table its unique and captivating flowing appearance. Together, these materials create a harmonious blend of nature and craftsmanship.
5. Cost
The cost of making a river table can vary depending on the materials used and the size of the table. On average, you can expect to spend around $200-$500 or more, depending on the specific materials and tools you require. It’s essential to consider your budget while selecting the materials for your project.
6. Beginner Resin
If you are new to working with epoxy resin, it is advisable to start with a beginner-friendly kit. These kits typically include all the necessary materials and tools you need to get started, along with detailed instructions to guide you through the process. Starting with a beginner kit allows you to familiarize yourself with the techniques and gain confidence in working with epoxy resin.
7. How Many Gallons of Epoxy
The amount of epoxy resin required for your river table depends on the size of the table and the desired thickness of the resin layer. As a rough estimate, for a small to medium-sized table, you may need 1-2 gallons of epoxy. However, it is essential to consult the manufacturer’s recommendations for the specific product you are using, as different resins may have different coverage rates.
8. Best Finish for a River Table
To protect the wood and epoxy and give your river table a polished look, consider applying a clear varnish or wax as a finishing touch. These finishes not only enhance the aesthetics but also provide added durability. Additionally, you may want to consider using a water-resistant finish to protect the table from moisture, especially if it will be used outdoors or in areas prone to spills.
9. Safety Precautions
Working with epoxy resin requires adherence to safety precautions. Prioritize your safety by following these guidelines:
- Wear gloves and protective eyewear to avoid direct contact with the resin.
- Work in a well-ventilated area or use proper ventilation equipment to minimize the inhalation of potentially harmful fumes.
- Follow the manufacturer’s instructions for handling, mixing, and curing the epoxy resin.
- Dispose of any waste materials according to local regulations.
Taking these safety measures ensures a safe and enjoyable crafting experience.
10. Choosing the Right Epoxy System
When selecting an epoxy system for your river table, consider the following factors:
Quality
Look for a high-quality epoxy system that is UV resistant, heat resistant, and food safe. This ensures the longevity of your river table and guarantees it can be safely used as a dining table.
Viscosity
Consider the viscosity of the epoxy system. Low viscosity epoxy systems are thinner and more fluid, making them easier to pour and spread evenly. However, they are more prone to creating bubbles. High viscosity epoxy systems, on the other hand, are thicker and less likely to form bubbles but can be more challenging to work with when pouring and spreading.
Hardness
Evaluate the hardness of the epoxy system. A harder epoxy provides increased durability and resistance to scratches and dents. However, it may require more effort and precision during application.
Color
Take into account the color options offered by the epoxy system. While clear epoxy systems are commonly used to showcase the wood grain, you can also choose from a wide range of colors and tints to add a unique touch to your river table.
Clarity
Consider the clarity of the epoxy system. Clear epoxy systems offer a glossy and crystal-clear finish that allows the natural beauty of the wood to shine through. However, improper application may result in a cloudy appearance, so it’s important to follow the manufacturer’s instructions carefully.
Pot Life and Curing Time
Evaluate the pot life and curing time of the epoxy system. Pot life refers to the time you have to work with the epoxy before it begins to harden. Longer pot life allows for more flexibility and time to work on the project. Curing time refers to the time it takes for the epoxy to fully harden and cure. Consider these factors based on your project’s complexity and the time you have available.
Cost
Keep in mind the cost of the epoxy system. While high-quality epoxy systems can be more expensive, they often provide superior results and are worth the investment.
Safety
Always prioritize safety when working with epoxy systems. Carefully read and follow the manufacturer’s instructions and safety precautions to ensure a safe working environment.
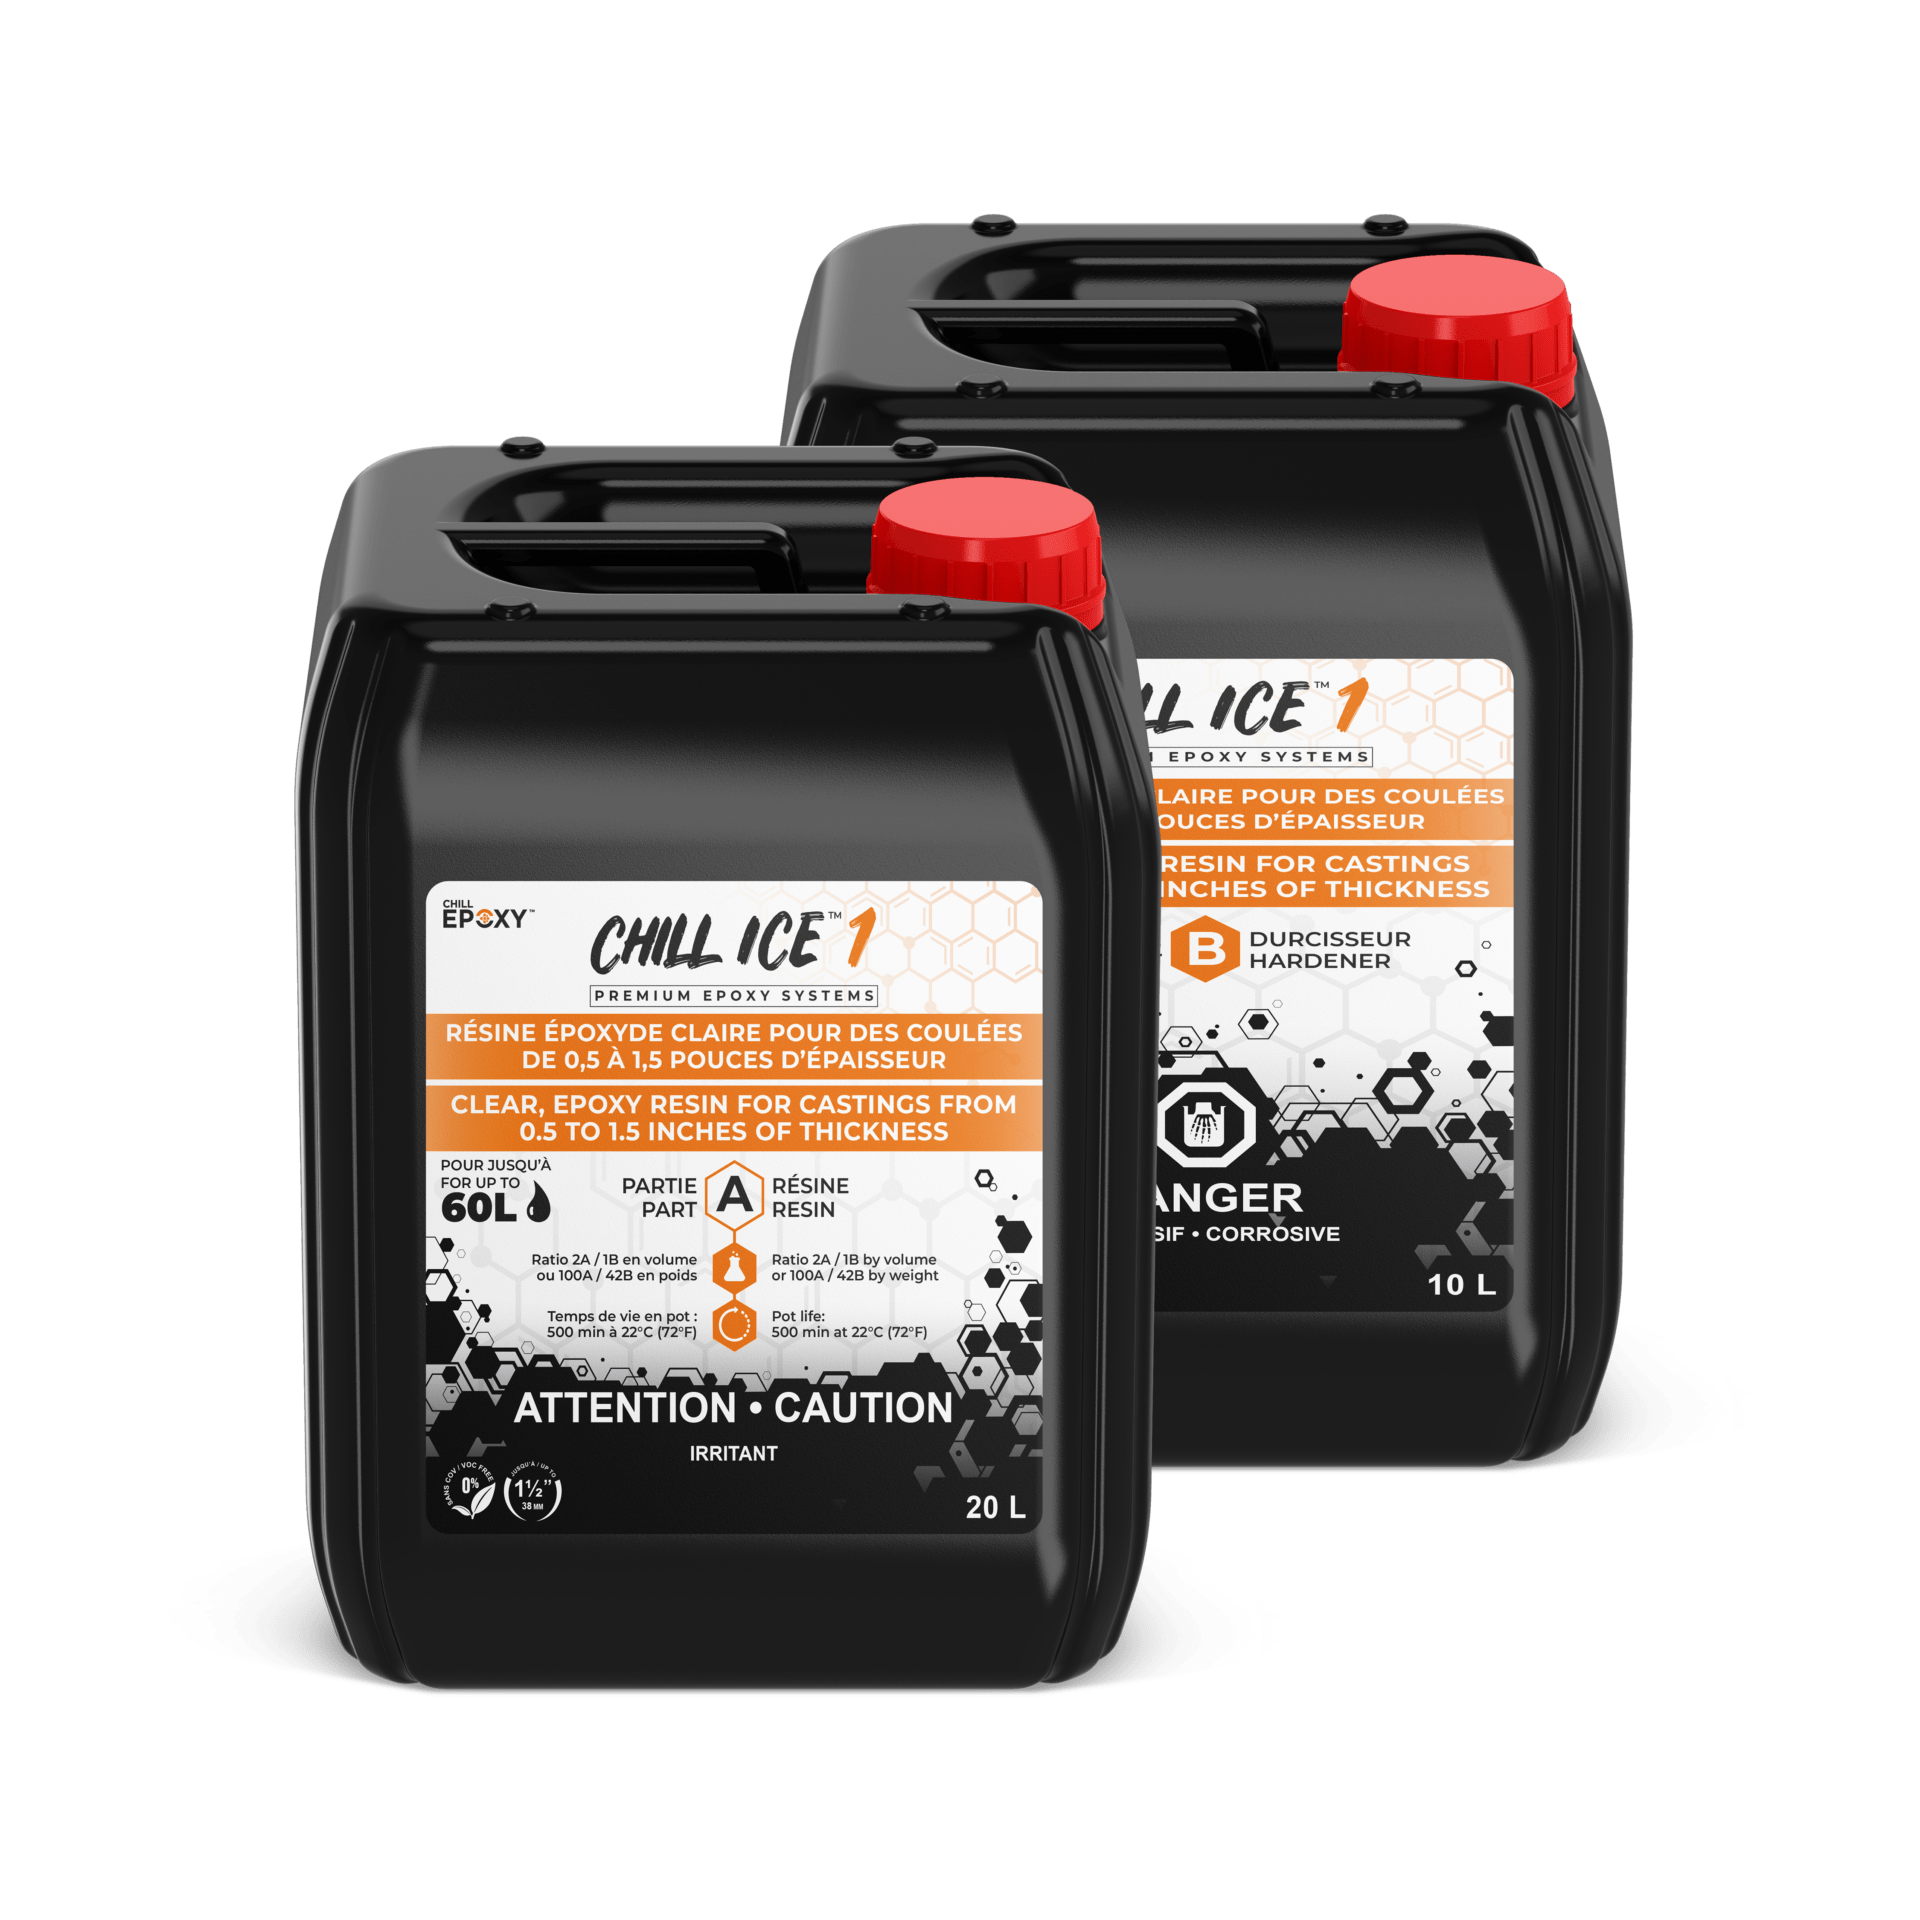
11. CHILL ICE 1™ – POURS BETWEEN 1/2 UP TO 1.5″ INCH UP TO 60 LITERS MASS
CHILL ICE 1™ is a high-quality epoxy resin formulation designed for smaller to medium-sized river tables. With a low viscosity, it allows for easy pouring and spreading, resulting in a glossy and clear finish. This resin is popular among artists and crafters who work on projects such as coffee tables or smaller river tables. Its UV resistance and food-safe properties make it an ideal choice for those seeking durability and safety.
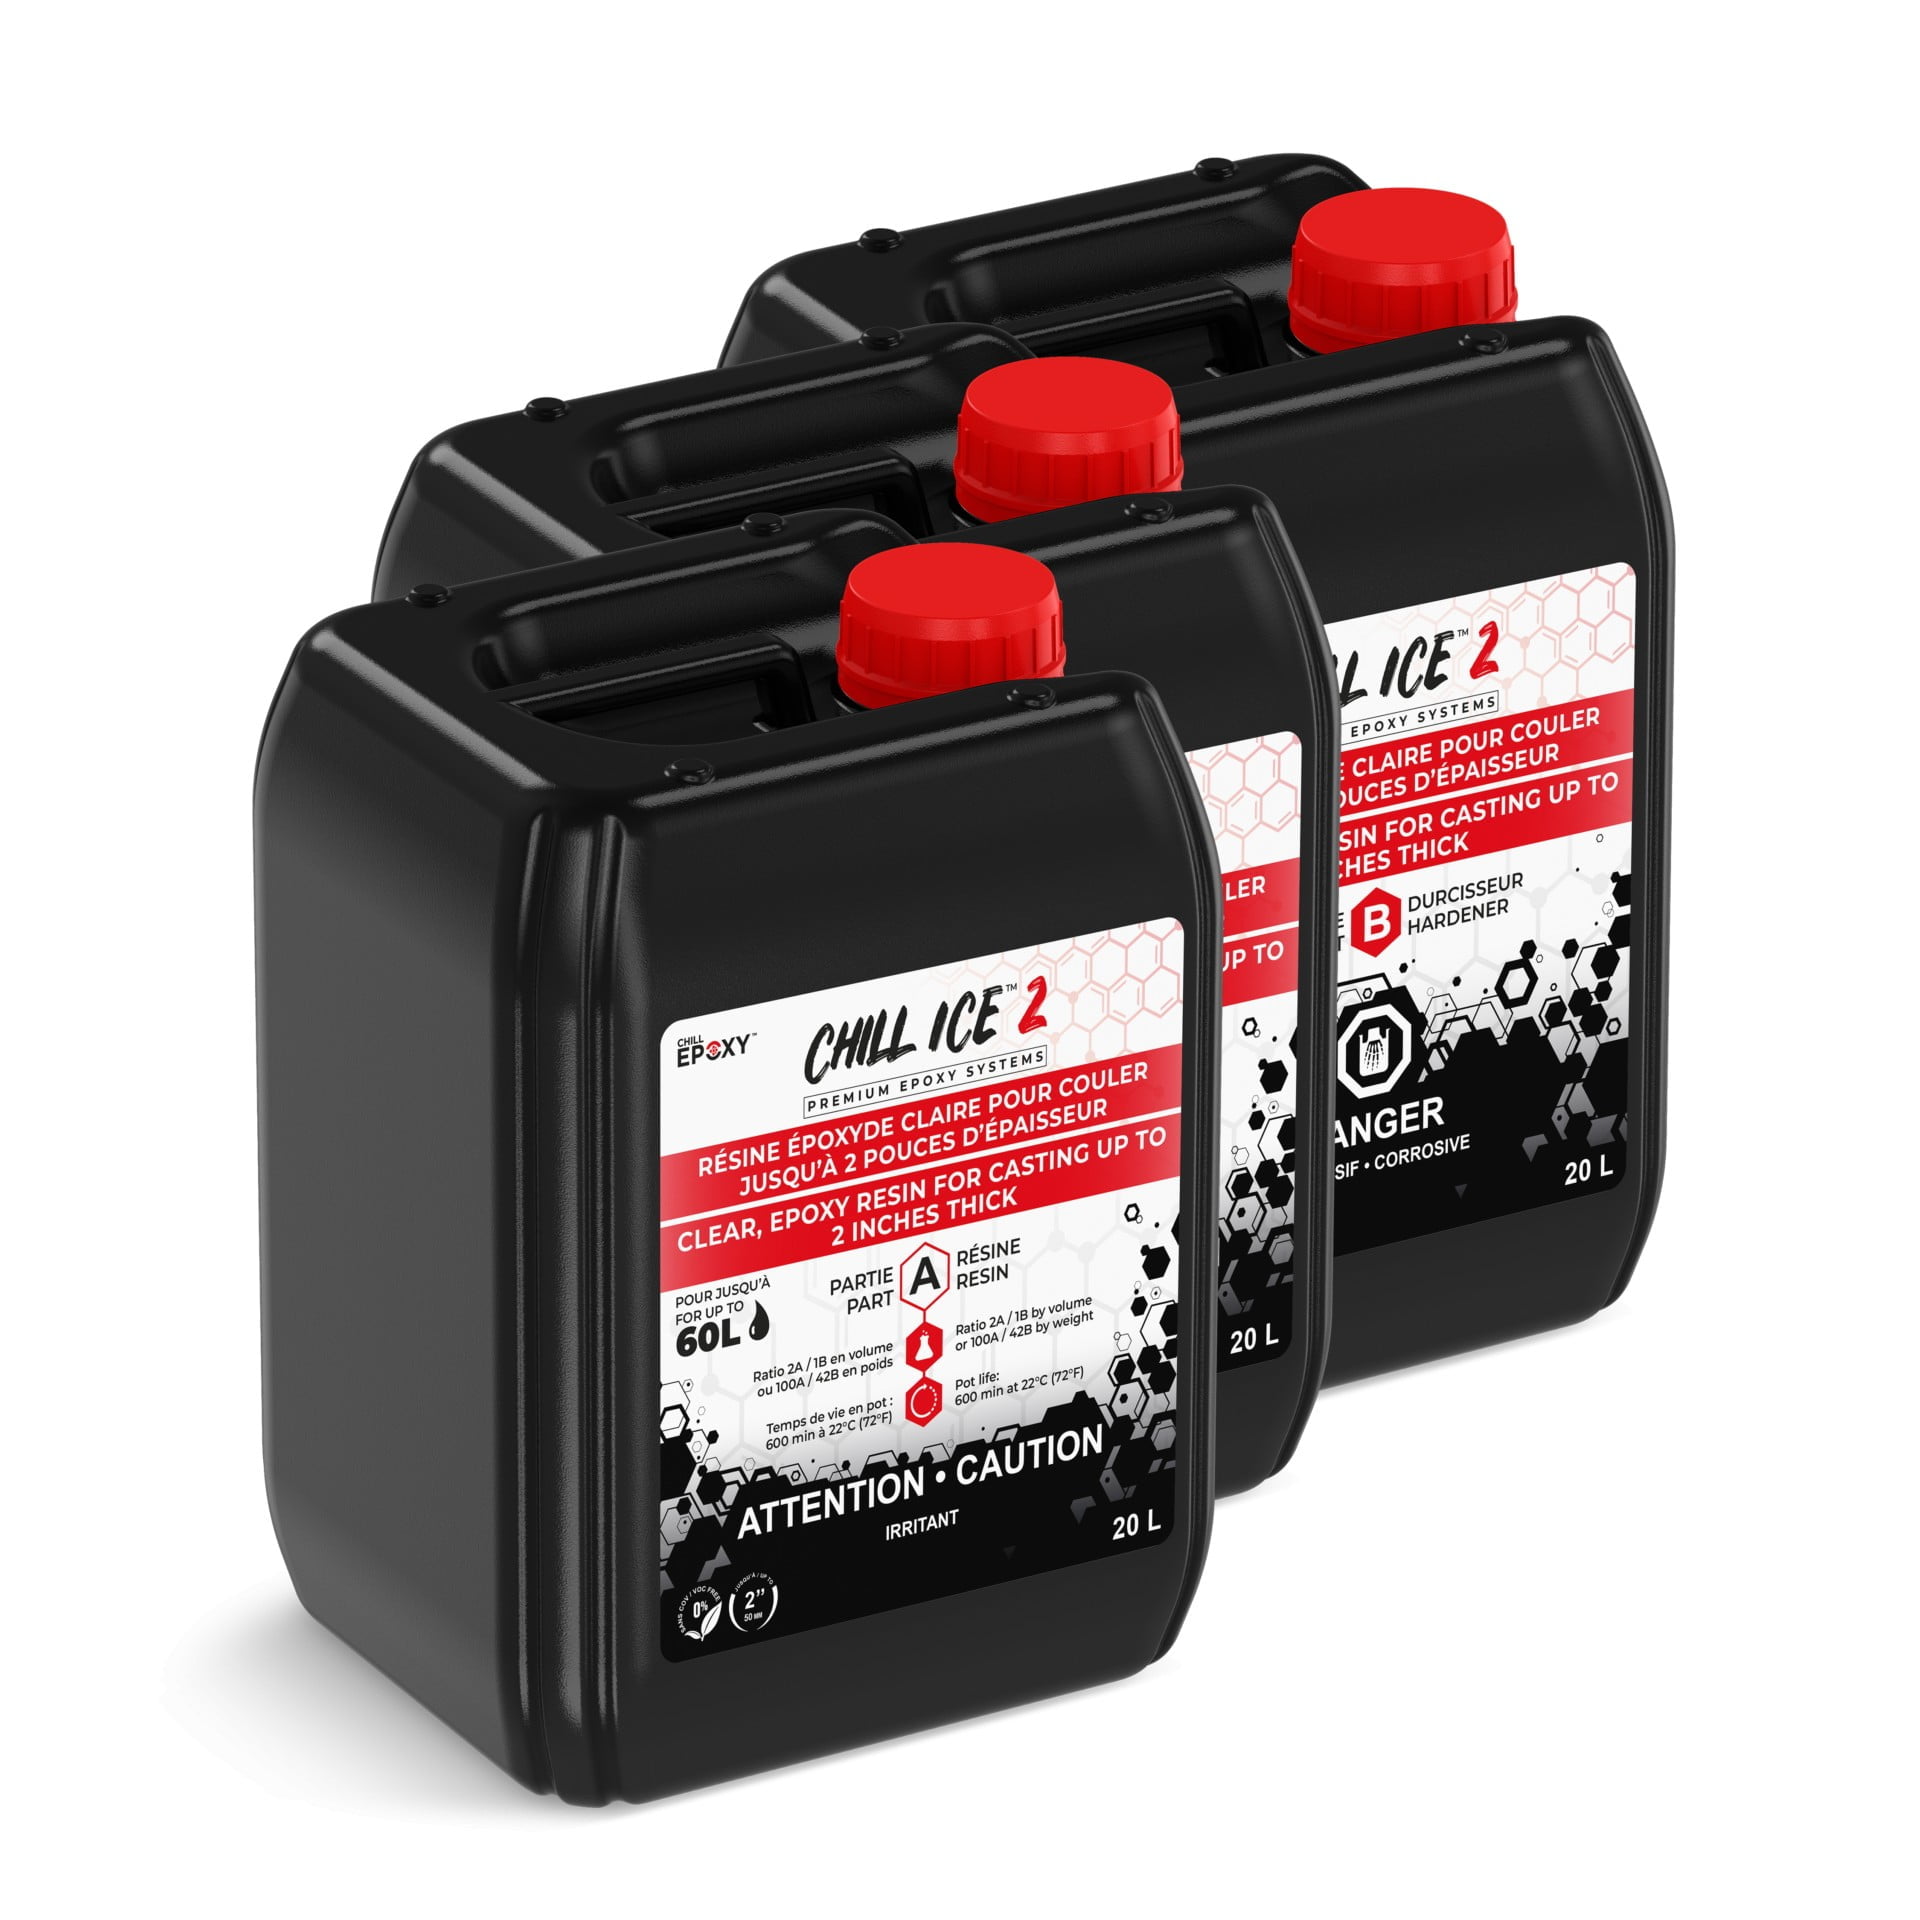
12. CHILL ICE 2™ – POURS BETWEEN 1.5 UP TO 2″ UP TO 60 LITERS MASS
CHILL ICE 2™ is another excellent option for creating river tables, particularly those with a thickness between 1.5 and 2 inches. This epoxy resin offers a water-like viscosity, minimizing the occurrence of bubbles during the pouring and spreading process. It is a preferred choice among woodworkers and furniture builders due to its suitability for thicker river tables. Like CHILL ICE 1™, it is UV resistant and food safe.
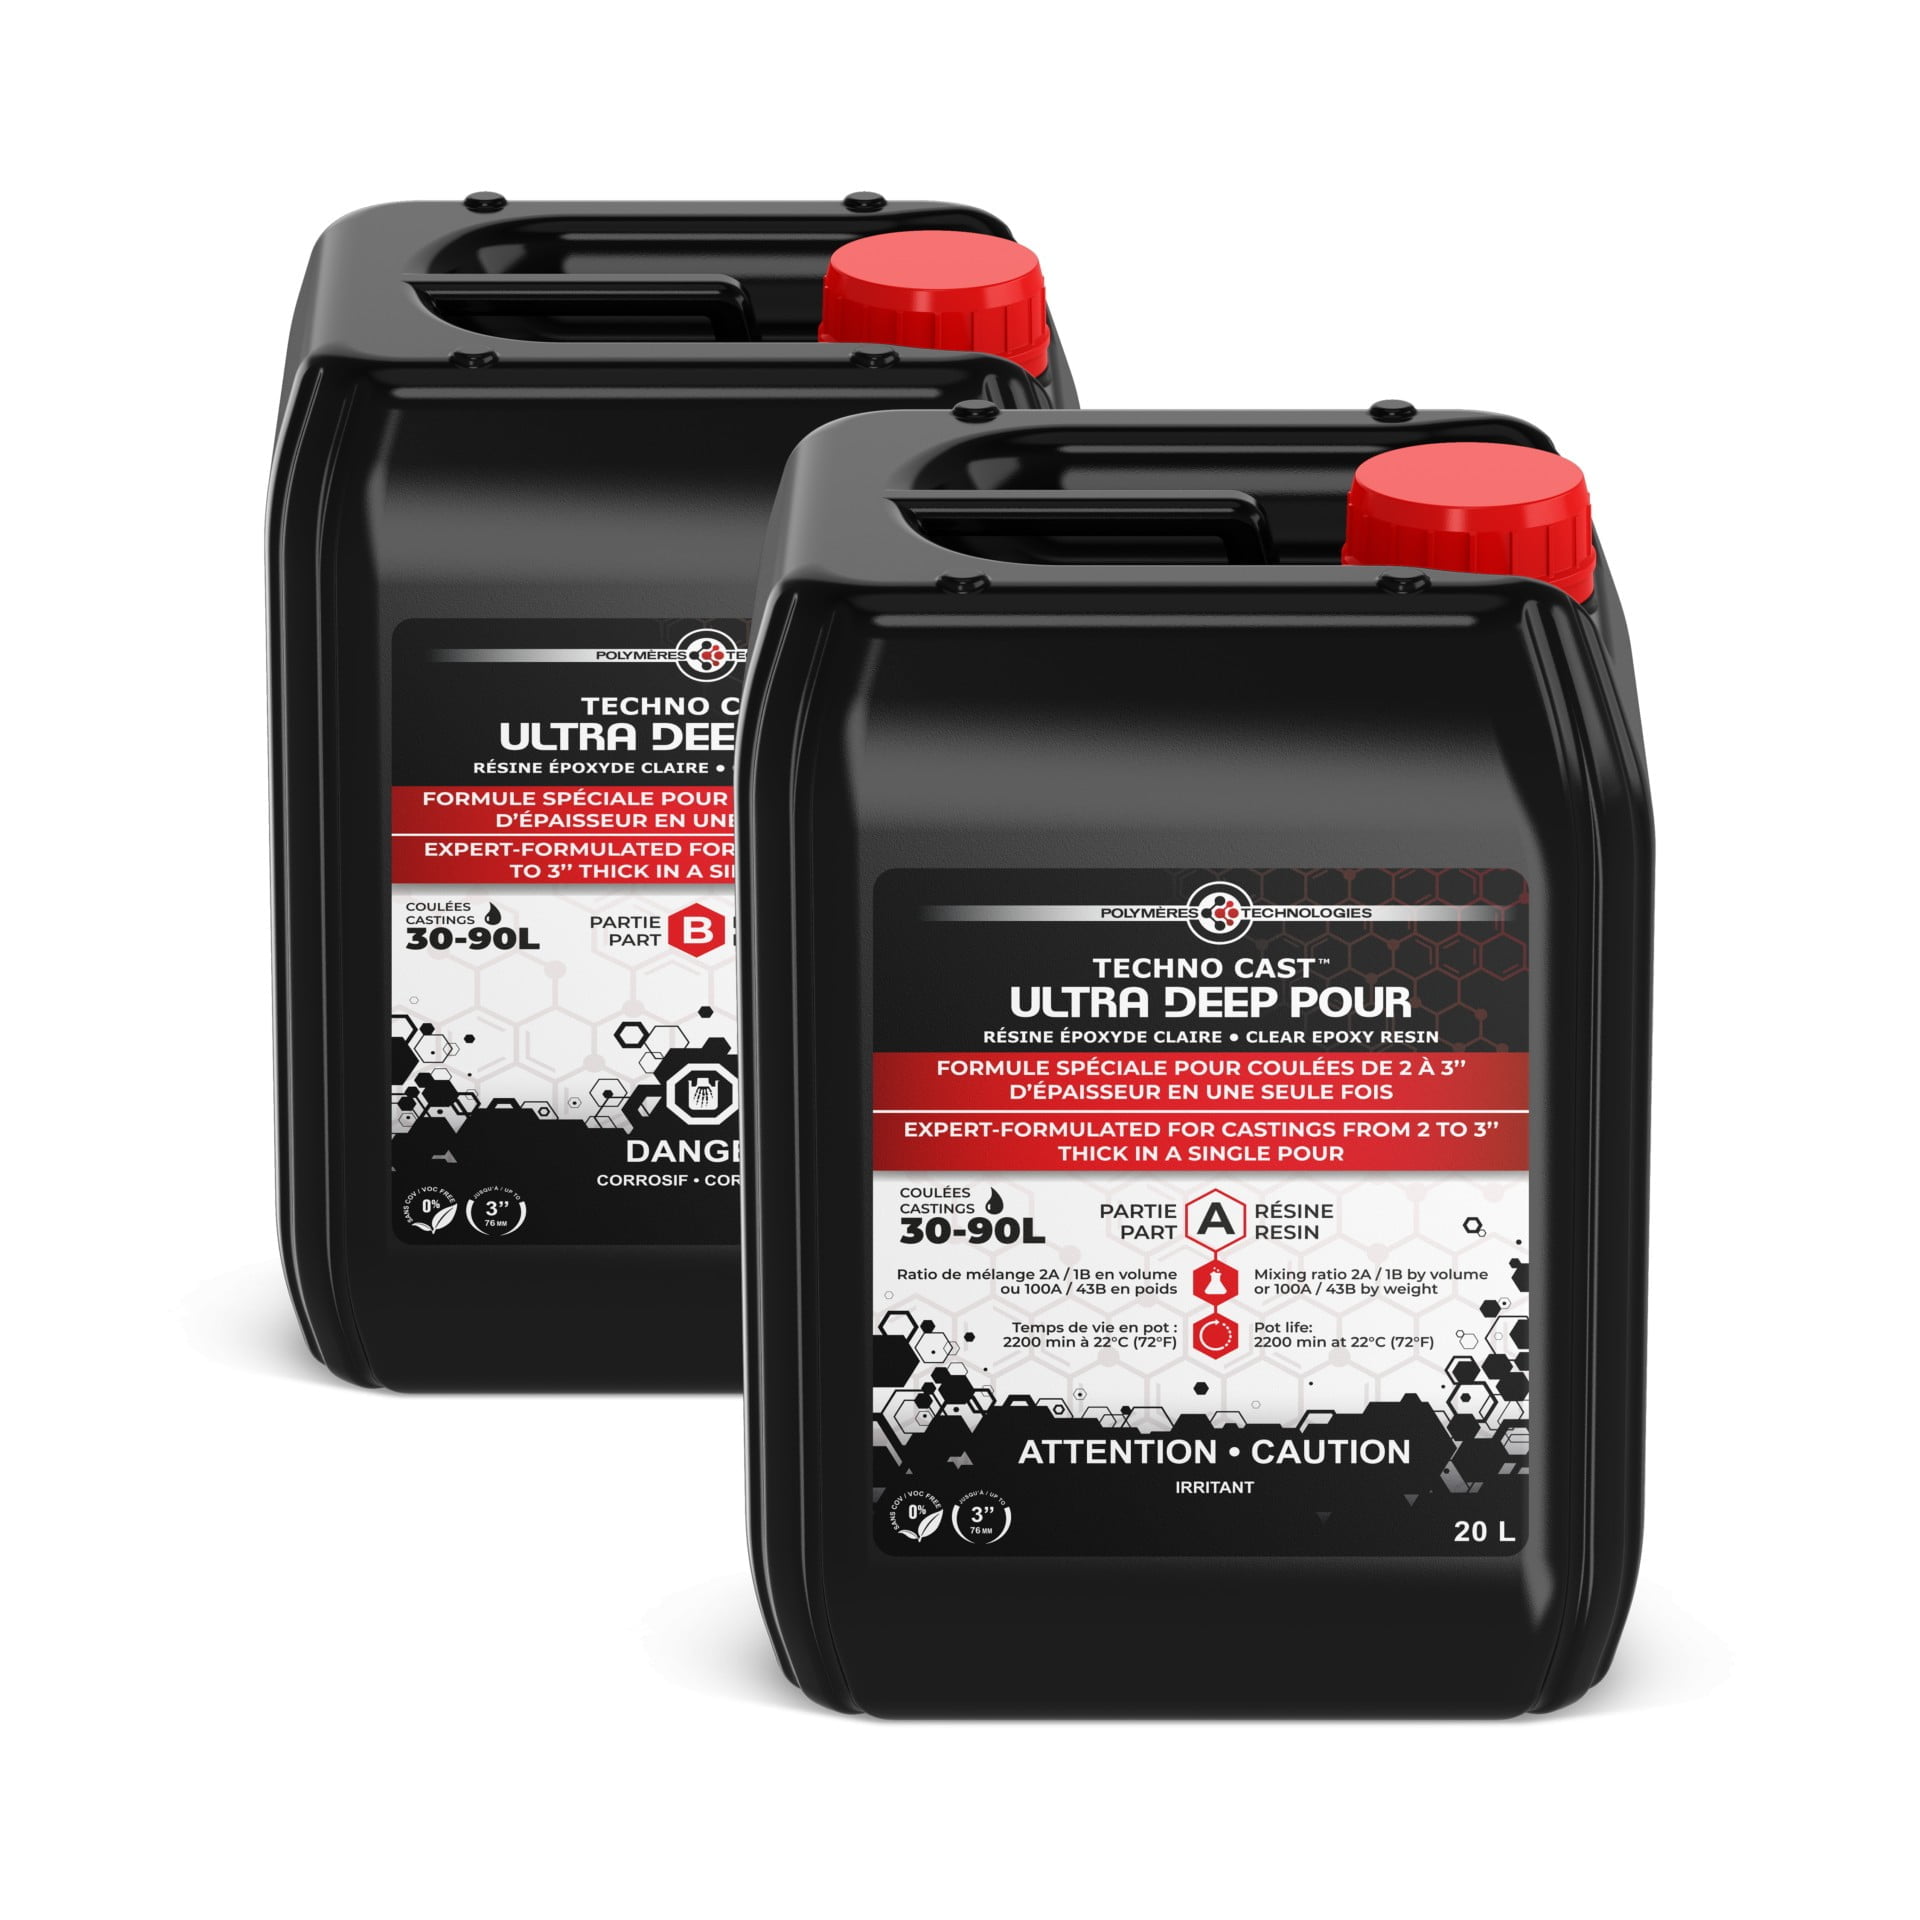
13. TECHNO CAST™ – POURS BETWEEN 2″ UP TO 3″ INCH UP TO 100 LITERS MASS
TECHNO CAST™ is specifically formulated for deep pour applications, allowing you to create mesmerizing, flowy effects in resin art and river tables. This epoxy resin has a low viscosity, making it easy to work with despite the larger mass and thickness requirements. TECHNO CAST™ is an excellent choice if you desire a thicker river table, as it can be poured up to 3 inches in a single pour without the need for additional pours. Like the other CHILL EPOXY™ products, it is UV resistant and food safe.
14. Factors to Consider When Selecting an Epoxy System
When selecting an epoxy system for your river table project, consider the following factors:
- Quality: Ensure the epoxy system is of high quality, providing UV resistance, heat resistance, and food safety.
- Viscosity: Evaluate whether a low viscosity or high viscosity epoxy system suits your project requirements.
- Hardness: Consider the hardness of the epoxy system and its impact on durability.
- Color and clarity: Decide whether a clear epoxy system or one with color and tint options is more suitable for your aesthetic goals.
- Pot life and curing time: Evaluate the pot life and curing time of the epoxy system based on your project’s complexity and available time.
- Cost: Consider the cost of the epoxy system and balance it with the desired results.
- Safety: Always prioritize safety by following the manufacturer’s instructions and safety precautions.
15. Conclusion
Creating a river table with epoxy resin is a captivating and rewarding process that allows you to transform wood into functional art. By carefully selecting the right materials, including high-quality epoxy resin, and following proper techniques, you can achieve stunning results. Remember to prioritize safety throughout the entire process and choose the appropriate epoxy system based on factors such as quality, viscosity, hardness, color, clarity, pot life, curing time, cost, and safety.
For further guidance and expert assistance in choosing the right epoxy system for your river table project, you can contact [email protected] or visit www.chillepoxy.com. Take your river table crafting journey to new heights with the right epoxy system that aligns with your vision.
FAQs
- Can I use any type of wood for a river table? While any type of wood can be used, hardwoods like oak, maple, walnut, or cherry are commonly preferred due to their durability and aesthetics.
- What safety precautions should I take when working with epoxy resin? It’s important to wear gloves and protective eyewear, work in a well-ventilated area, and follow the manufacturer’s instructions and safety guidelines.
- How much epoxy resin do I need for a river table? The amount of epoxy resin depends on the size of the table and desired thickness. Typically, 1-2 gallons are needed for a small to medium-sized table.
- What finish is recommended for a river table? Clear varnish or wax is popular for finishing river tables, providing protection and a polished appearance.
- Where can I get more information and assistance in choosing the right epoxy system? For expert help and information, you can reach out to [email protected] or visit www.chillepoxy.com.