

 Français
Blog, FAQ, Getting started
Stabilizing Wood Slabs for River Tables: How to Avoid Movement and Epoxy Cracking in Deep Pour Projects
Mar
Stabilizing Wood Slabs for River Tables: How to Avoid Movement and Epoxy Cracking in Deep Pour Projects
River tables have become increasingly popular in recent years, and it’s easy to see why. The mesmerizing combination of natural wood and crystal-clear epoxy creates a stunning piece of furniture that is both functional and decorative. However, working with wood slabs for river tables can be challenging, as they are prone to movement and cracking. In this article, we’ll discuss how to stabilize wood slabs to avoid these issues and ensure a successful deep pour project.
Table of Contents
- Introduction
- Understanding Wood Movement
- Preparing the Wood Slabs
- Stabilizing the Wood Slabs
- Using Epoxy Resin
- Pouring the Epoxy
- Sanding and Finishing
- Maintenance and Care
- Conclusion
- FAQs
Introduction
A river table is a unique piece of furniture that combines the beauty of natural wood with the translucency of epoxy resin. The concept is simple – two slabs of wood are cut to create a river-like channel in the center, which is then filled with clear epoxy. While the result is stunning, it’s important to remember that working with wood slabs can be challenging due to their tendency to move and warp. Additionally, deep pour projects using epoxy can crack or bubble if not done correctly. By stabilizing the wood slabs, you can avoid these issues and create a beautiful river table that will last for years to come.
1. Understanding Wood Movement
Before we dive into the process of stabilizing wood slabs, it’s important to understand why they move in the first place. Wood is a natural material that reacts to changes in temperature and humidity. As the environment changes, wood expands and contracts, which can cause it to warp, twist, or crack. In a river table, this movement can cause the epoxy to crack or pull away from the wood, ruining the final product.
2. Preparing the Wood Slabs
To stabilize the wood slabs, you’ll first need to prepare them properly. Start by selecting high-quality slabs with straight grain and minimal knots. Cut the slabs to size and sand them smooth, taking care to remove any rough patches or imperfections. Once the slabs are smooth, you can begin the process of stabilizing them.
3. Stabilizing the Wood Slabs
When creating a river table, the live edge sections of the wood slab are often left exposed, creating a natural and organic look. However, these sections are more prone to movement and require extra stabilization. One way to stabilize live edge sections is to use bow ties or butterfly keys. These are small pieces of wood that are inserted into the wood slab, perpendicular to the grain. This helps to reinforce the wood and prevent it from moving.
If you’re preparing to make a river epoxy table, you’ll need to stabilize your wood slabs in a mold to ensure they don’t move around while the epoxy sets. One way to do this is by using wood blocks and clamps. Here’s how to use them:
- Gather your materials: You’ll need wood blocks, clamps, and a mold for your table. Make sure the wood blocks are thick and sturdy enough to hold your slabs in place.
- Place your slabs in the mold: Once you have your mold ready, place your wood slabs inside. Make sure they’re positioned correctly and level.
- Add wood blocks covered with tape: Next, place your wood blocks around the edges of your slabs, creating a barrier around the entire table. These blocks will help keep your slabs in place while the epoxy sets.
- Secure with clamps: Once your wood blocks are in place, use your clamps to secure them to the mold. Place the clamp over the wood block and tighten until the block is held firmly in place. Repeat this process for each block around the mold.
- Double-check for stability: Once your blocks and clamps are in place, double-check that your slabs are stable and won’t move around. You can gently press on each slab to make sure it’s secure.
- Add epoxy: Finally, you’re ready to add your epoxy to the table. Follow the instructions carefully, making sure to mix it thoroughly before pouring. Once you’ve poured your epoxy, let it set according to the manufacturer’s instructions.
By using wood blocks and clamps to stabilize your wood slabs, you’ll ensure that your river epoxy table turns out beautifully. Just make sure to take your time and be careful during each step of the process.
There are several methods for stabilizing wood slabs, including using a vacuum chamber, resin, or wood hardener. One popular method is to use a clear penetrating epoxy sealer. This type of sealer is designed to penetrate deep into the wood, strengthening it and preventing movement. To use a penetrating epoxy sealer, follow these steps:
- Apply the sealer to the wood, using a brush or roller.
- Allow the sealer to soak into the wood for at least 30 minutes.
- Wipe off any excess sealer with a clean cloth.
- Let the sealer dry for at least 24 hours.
Once the sealer is dry, the wood slabs should be much more stable and less prone to movement. However, it’s important to note that this method may not work for all types of wood. If you’re working with a particularly unstable species, you may need to use a different method, such as a vacuum chamber or wood hardener.
4. Stabilizing Wood Openings
Another area of the wood slab that requires extra stabilization is the wood openings that create the river effect. These areas are more prone to movement due to the deep pour of epoxy resin. To stabilize wood openings, it is important to properly seal and reinforce them. This can be done by using epoxy resin or wood stabilizer, which helps to strengthen and stabilize the wood.
Using Epoxy Resin
Once the wood slabs are stabilized, you can begin the process of pouring the epoxy. It’s important to use a high-quality epoxy resin that is designed for deep pours. This will help prevent cracking and ensure a smooth, even finish. Some popular epoxy resins for river tables include:
CHILL ICE 2 – DEEP POUR CLEAR CASTING EPOXY RESIN

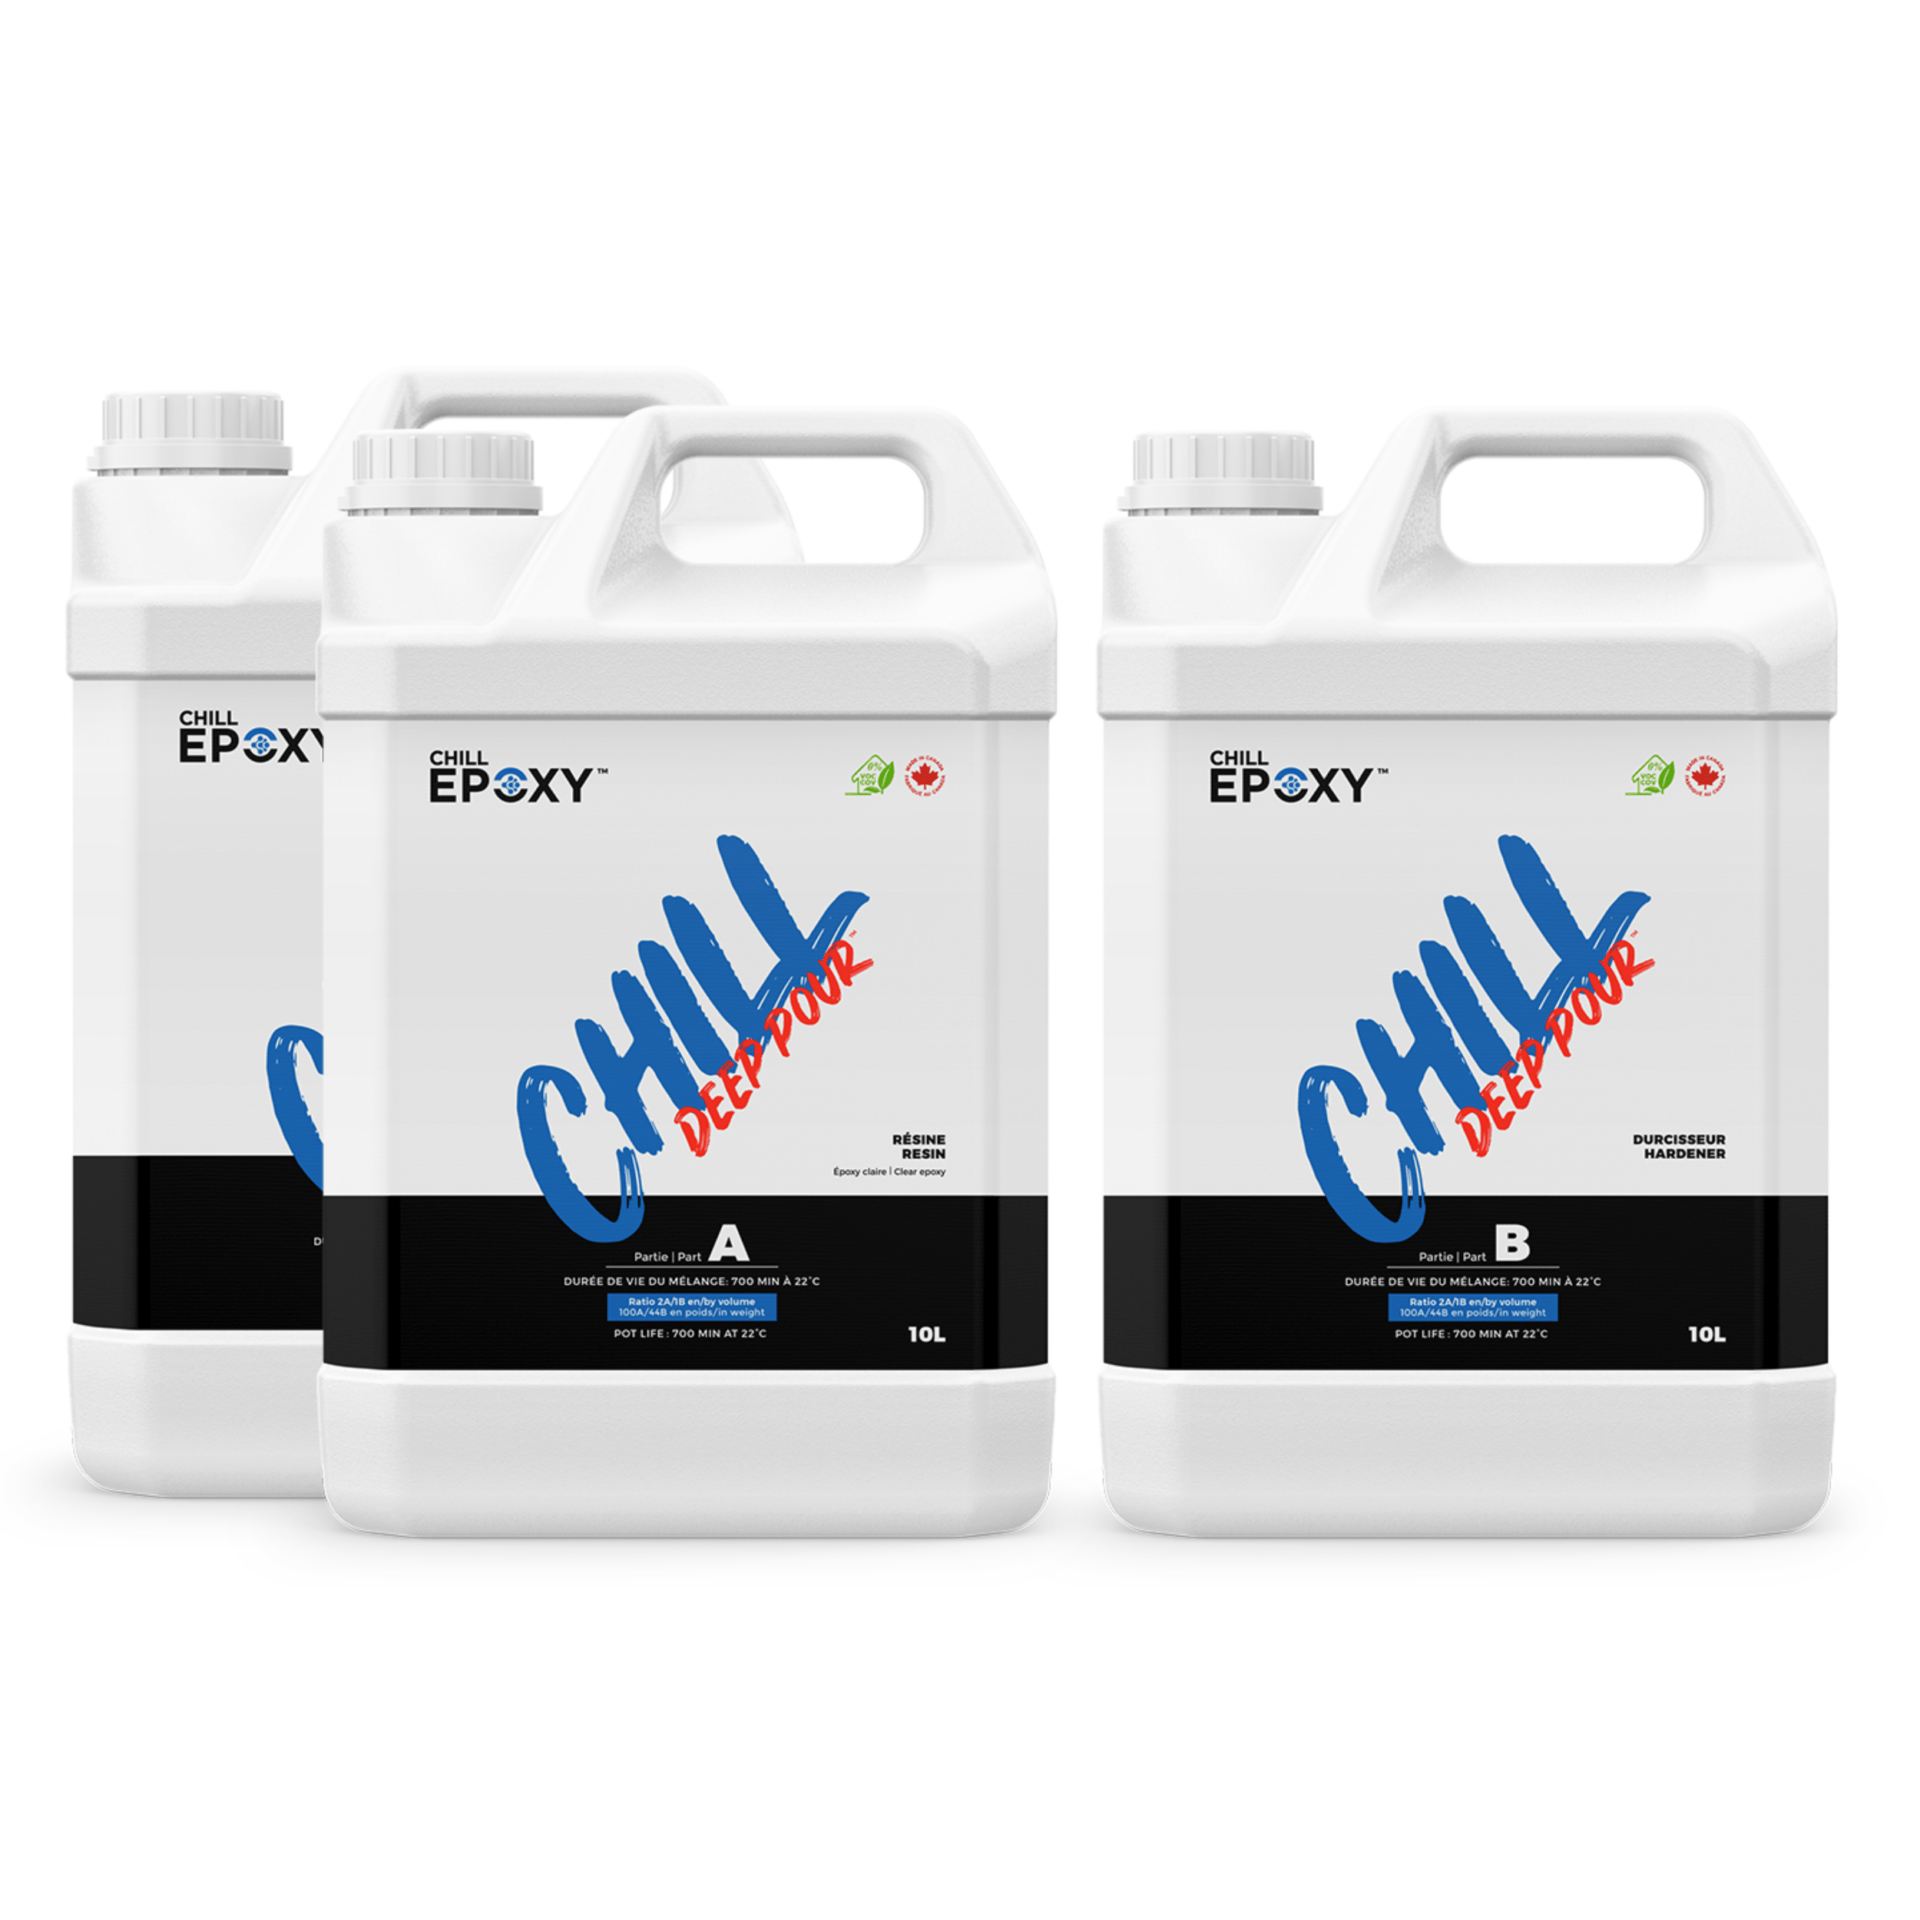
TECHNO CAST – ULTRA DEEP POUR
When it comes to river tables, epoxy resin is the go-to material for creating the river effect. However, it is important to choose the right type of epoxy resin for the project. Deep pour epoxy resin is designed to handle thicker pours and has a longer curing time. This allows the resin to properly cure without cracking or shrinking. Additionally, it is important to mix the epoxy resin properly and follow the manufacturer’s instructions to ensure a successful pour.
Letting the Epoxy Cure
Pouring the Epoxy
Before you start pouring the epoxy, make sure that the wood slabs are completely dry and free of dust or debris. Mix the epoxy resin according to the manufacturer’s instructions, taking care to measure the components precisely. Once the resin is mixed, pour it slowly and evenly over the wood slabs, making sure to fill any gaps or cracks.
If you’re using a colored resin, you can add pigment at this stage to create a unique look. You can also add other materials, such as stones or shells, to create a more natural look.
Sanding and Finishing
Once the epoxy has cured, you can begin the process of sanding and finishing the river table. Use a random orbital sander with a fine-grit sandpaper to sand the surface of the table, taking care to remove any bumps or bubbles. Once the surface is smooth, you can apply a coat of polyurethane or other protective finish to seal the surface and protect it from moisture and wear.
When it comes to finishing the wood slab, there are several options to choose from. One popular choice is to use a clear coat or polyurethane finish, which helps to protect the wood and epoxy and provides a glossy finish. Alternatively, you can use a natural oil finish, which enhances the natural beauty of the wood and provides a matte finish.
Maintenance and Care
To ensure that your river table remains in good condition, it’s important to take proper care of it. Avoid placing hot or cold objects directly on the surface, as this can cause the epoxy to crack or warp. Clean the surface regularly with a damp cloth and mild detergent, and avoid using harsh chemicals or abrasive materials.
If you notice any damage or cracking, you can repair the surface with a small amount of epoxy resin and a fine-grit sandpaper. Sand the surface smooth, clean it thoroughly, and then apply a thin layer of epoxy resin to fill in any gaps or cracks.
Conclusion
Creating a river table can be a challenging but rewarding project. By stabilizing the wood slabs and using high-quality epoxy resin, you can avoid movement and cracking and create a beautiful piece of furniture that will last for years to come. Remember to take proper care of the table, and it will continue to be a stunning centerpiece in your home or office.
FAQs Stabilizing Wood Slabs for River Tables
Q1. What type of wood is best for river tables? A1. The best types of wood for river tables are those with straight grain and minimal knots, such as maple, walnut, or cherry.
Q2. How thick should the wood slabs be for a river table? A2. The wood slabs should be at least 2 inches thick to ensure stability and prevent cracking.
Q3. Can you use any type of epoxy resin for river tables? A3. No, it’s important to use a high-quality epoxy resin that is designed for deep pours to prevent cracking and ensure a smooth finish.
Q4. Can you add pigment or other materials to epoxy resin? A4. Yes, you can add pigment or other materials to epoxy resin to create a unique look. Just be sure to follow the manufacturer’s instructions and mix the components precisely.
Q5. Can you create a river table with live edge wood slabs? A5. Yes, live edge wood slabs can be used to create a unique look for a river table. However, it’s important to stabilize the wood slabs properly to prevent movement and cracking.
Q6. Can you repair a cracked or damaged river table? A6. Yes, you can repair a cracked or damaged river table by sanding the surface smooth and filling in any gaps or cracks with a small amount of epoxy resin.
In conclusion, creating a river table can be a fun and rewarding project, but it requires careful planning and attention to detail. By stabilizing the wood slabs and using high-quality epoxy resin, you can avoid movement and cracking and create a stunning piece of furniture that will be the envy of all who see it. Remember to take proper care of the table, and it will continue to be a beautiful and functional centerpiece in your home or office for years to come.