

 Français
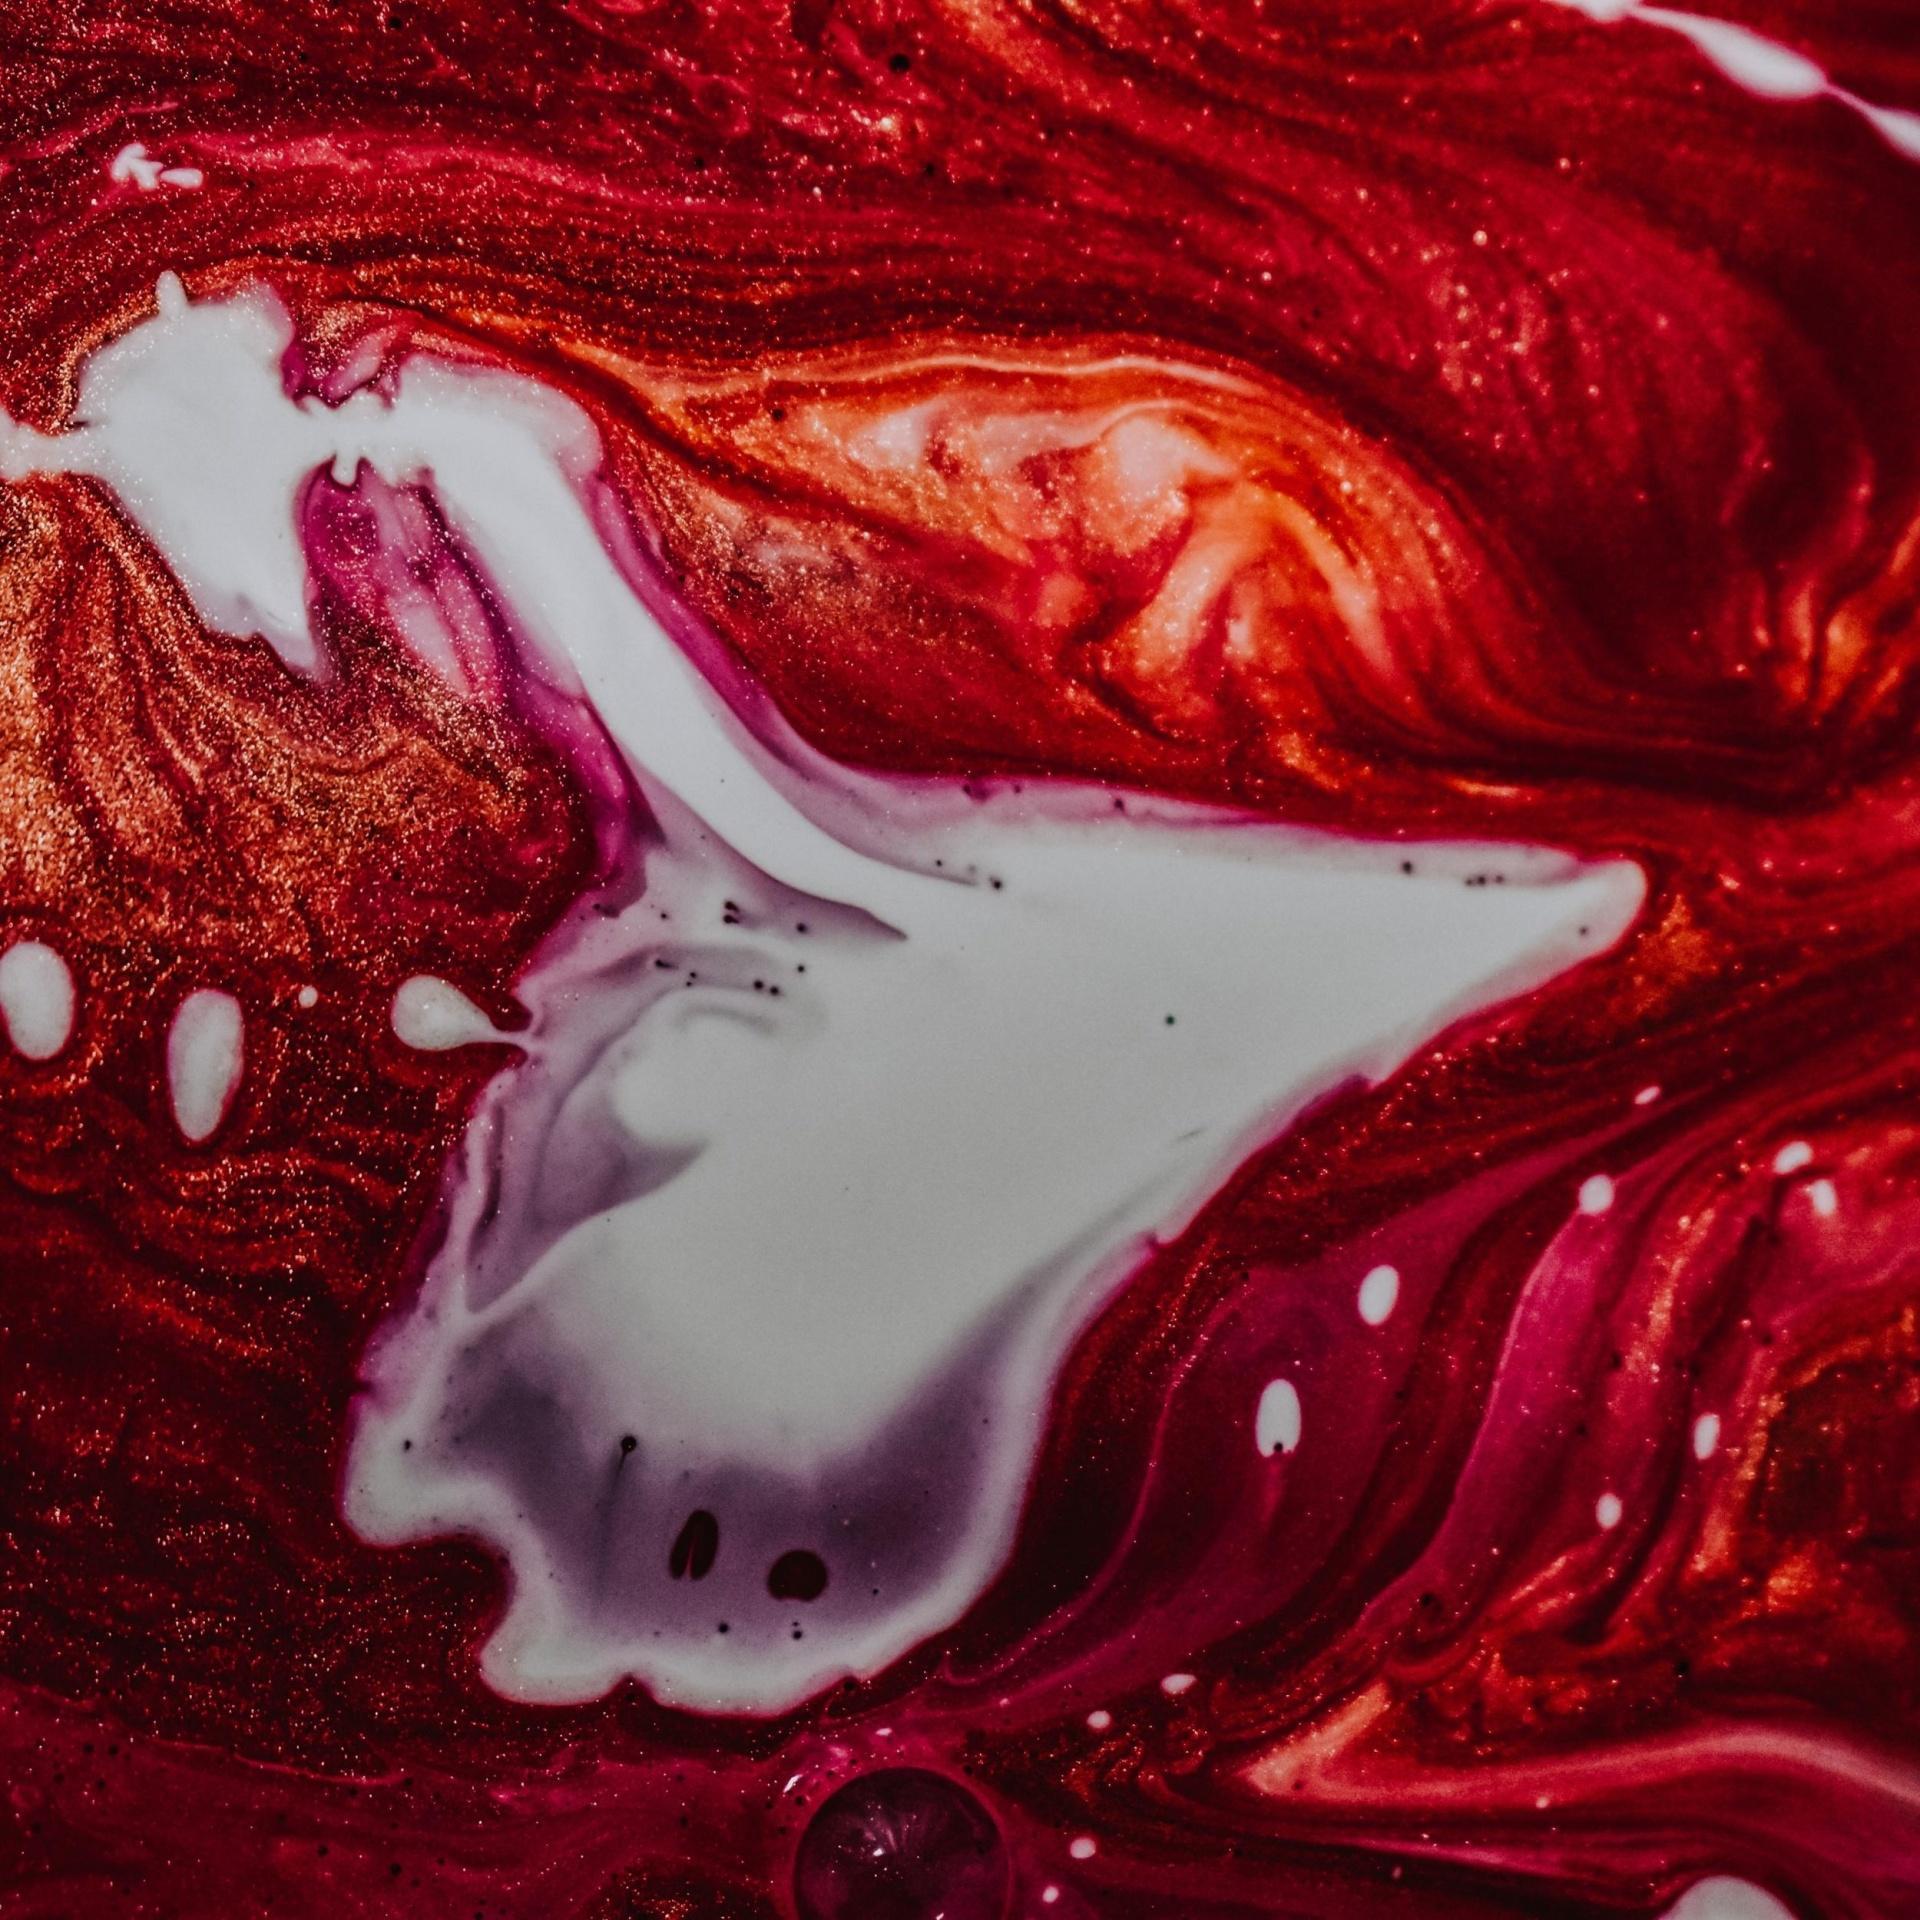
Nov
The Timing and Technique of Making Swirls in Epoxy Resin
Swirling patterns in epoxy resin have been steadily growing in popularity due to their aesthetic appeal and unique touch they add to various projects. This guide will walk you through the process of creating swirls in epoxy resin, covering everything from preparation to completion.
What is Epoxy Resin?
Epoxy resin is a versatile material that hardens into a clear, glass-like finish. It’s used in a wide range of applications, from crafting and jewelry making to flooring and countertop surfaces.
Preparing the Epoxy Resin
The first step is to prepare your epoxy resin. This involves mixing the resin and hardener according to the manufacturer’s instructions. Make sure the mixture is thoroughly mixed and free of bubbles before you proceed to the next step.
Adding Color Pigments to Epoxy
You can add color to your swirls by incorporating mica powder or other color pigments into the epoxy mixture. Ensure to mix the pigments thoroughly for an even color distribution.
Pouring the Mixture into the Mold
Once you’re satisfied with the color and swirls, carefully pour the epoxy mixture into your mold. Pour slowly and evenly to avoid disturbing the swirls.
Creating Swirls in Epoxy
Creating swirls in epoxy requires patience and precision. Use a metal spatula or similar tool to gently drag through the epoxy mixture in a swirling motion.
Understanding the Curing Process of Epoxy
After creating your swirls, let the epoxy cure according to the manufacturer’s instructions. The curing time can vary from a few hours to several days, depending on the type of epoxy used.
Finishing the Project
Once the epoxy has fully cured, you can remove it from the mold and finish the project as desired. This might involve sanding, polishing, or adding additional embellishments.
Factors Influencing the Swirls Creation
Keep in mind that creating perfect swirls may take some practice. Factors such as curing time, the viscosity of the epoxy, and room temperature can significantly influence the outcome of your swirls.
Understanding the Right Timing for Making Swirls
The “sweet spot” for creating swirls is when the epoxy is at a higher viscosity or a “honey” texture. This is when your designs will stay visible and won’t fade away.
Tips for Better Swirls in Epoxy Resin
To achieve better results, have all your tools and pigments within reach before starting. Also, consider creating a test sample before committing to the final project.
The Effect of Temperature on Epoxy Resin
The temperature of your workspace can affect the pot life of the epoxy. In a hotter environment, epoxy will cure faster than in a colder one.
Experimenting with Different Techniques and Tools
Experimenting with various techniques and tools can help you achieve the desired effect. Tools such as small metal spatulas are recommended over wooden sticks.
Practicing and Perfecting the Swirl Technique
Practicing and perfecting your technique is key to achieving beautiful and unique swirls in your epoxy projects.
Conclusion
Creating swirls in epoxy is an exciting and creative way to personalize your projects. With the right tools, timing, and a bit of practice, you can master the art of epoxy swirls.