

 Français
FAQ, Troubleshooting
Building a Melamine Mold for an Epoxy River Table
Nov
Building a Melamine Mold for an Epoxy River Table
Building a melamine mold for an epoxy river table pour involves several steps:
- Design the mold: Create a design for the mold using a 3D modeling software or by sketching it out on paper. Make sure to take into account the dimensions of your table and the desired shape of the river.
- Cut the melamine: Use a saw to cut the melamine board to the desired dimensions of the mold. Make sure the edges are straight and smooth.
- Build the mold box: Use the cut melamine pieces to build the mold box, making sure that the sides are straight and the corners are square. Use wood glue and clamps to hold the pieces together while the glue dries.
- Seal the mold: Use a Silicone caulking sealant. It is recommend to seal not only the interior but exterior of the mold as well.
- Apply the release agent: Apply a liquid release agent, avoid spray release agent, to the inside of the mold to ensure the epoxy does not stick to the melamine.
- Before pouring the epoxy, it is important to stabilize the wood slabs that will be used for the table top. This can be done by clamping the slabs together to ensure they are tightly secured and will not move during the pouring process. The clamping process helps to prevent warping or shifting of the wood during the curing process.
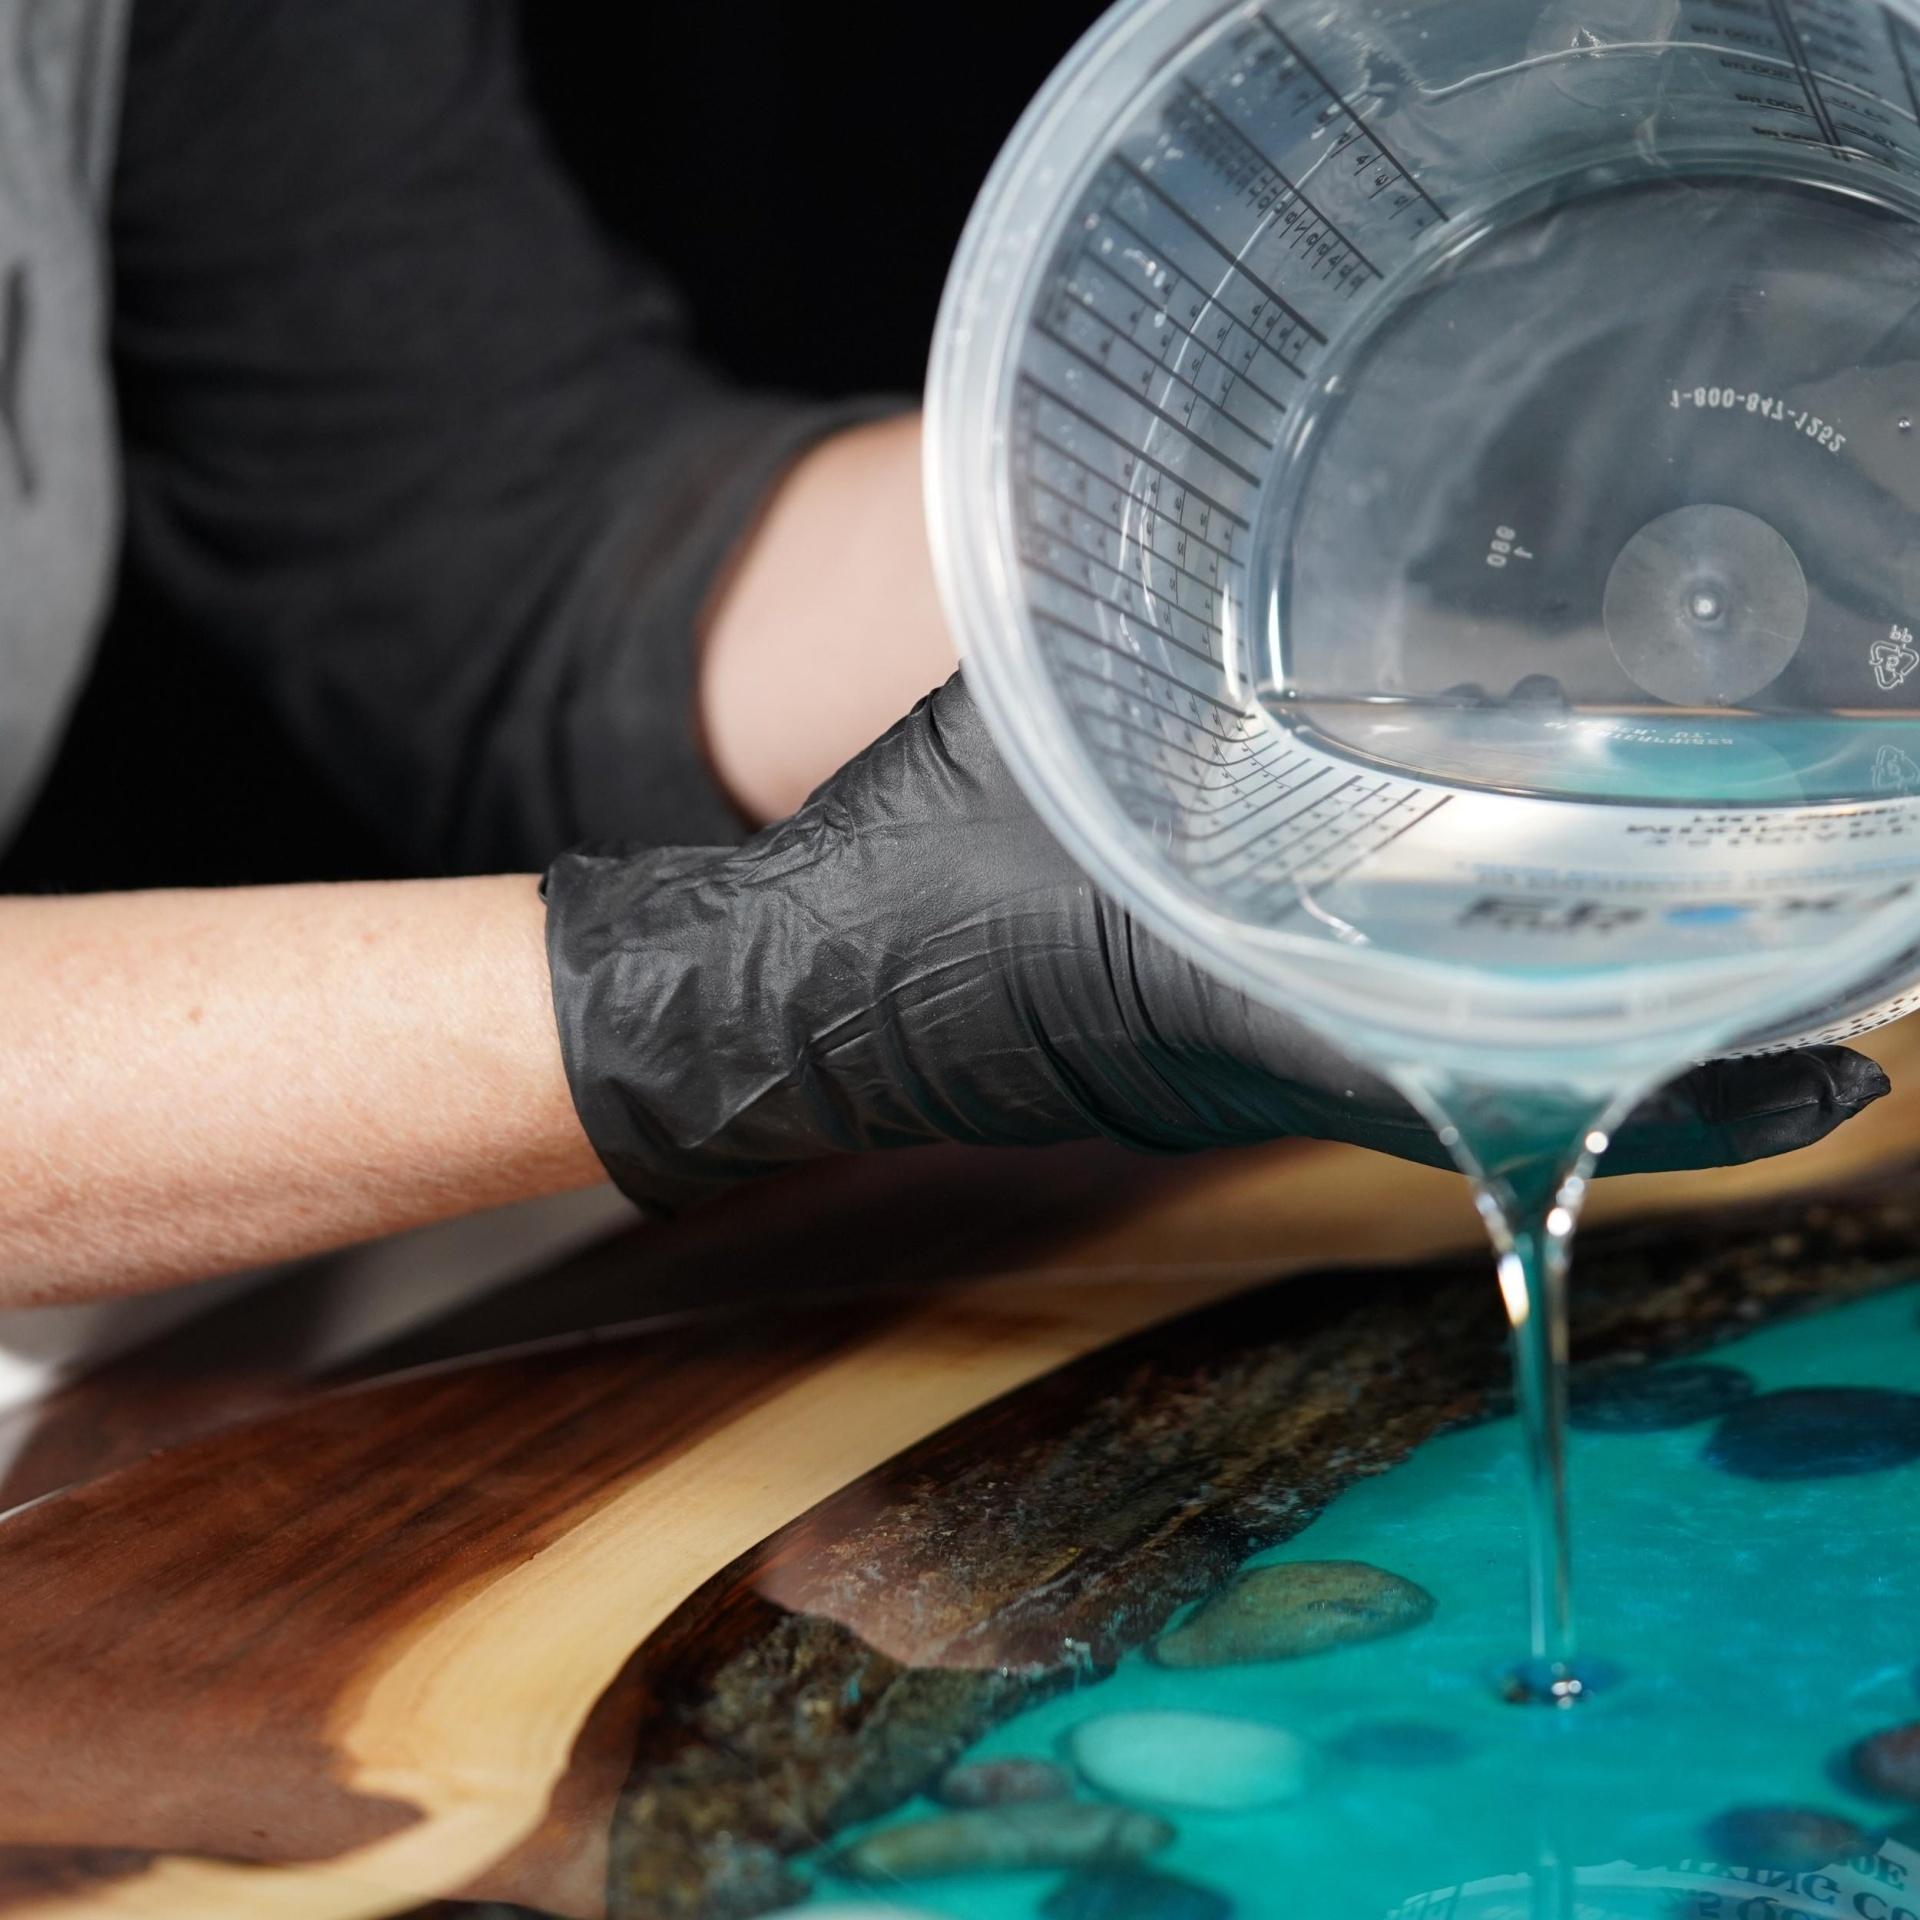
- Pour the epoxy: Mix the epoxy according to the manufacturer’s instructions and pour it into the mold. Make sure the epoxy is level and allow it to cure according to the manufacturer’s instructions.
- Remove the mold: Once the epoxy is fully cured, remove the mold from the table. Clean any excess release agent or epoxy residue from the table.
Note: These are general steps and may not be specific to the size and shape of the table you are making. Always follow the Polymeres Technologies’ instructions for the materials you are using.
Note: It’s recommended to use a mold release agent, it will make it easier to remove the master and the casted object will have a better finish.
Building an epoxy resin casting mold is a very important step when creating a river table or other casting projects.
Some materials demonstrate superior insulating qualities than others. The material used to make the mold is important. Melamine, wood, polyurethane and silicone demonstrate good up to high insulation capacities, so can increase the exothermic effect. HDPE – High Density polyethylene can also be use to create a mold. The HDPE will create a better and cleaner surface compare to melamine and tape. Epoxy will not adhere to HDPE, therefore you won’t need to apply tape.
Choose Your Materials Wisely
As you may know epoxy will stick to many materials and surfaces. Among them, we include:
- High Density Polyethylene (HDPE)Silicone
- Polyethylene
- Polypropylene
- Nylon
- Mylar
- Silicone
- Any surface coated with a release agent – Silicone Based Release Agent for Molds – CHILL RELEASE 110
The cheapest and most accessible material is melamine, Medium Density Fiber, or plywood for the base and walls. AVOID: The metal demonstrates great heat dissipation ( Heat Sink) capacity which will greatly slow down the exothermic effect and directly the polymerization time. The metal will absorb a certain amount of heat required to cure the epoxy. Only extremely reactive epoxy systems need to be slowdown using a metal mold, meaning the epoxy solution is not adapted for this application.
REMEMBER : The epoxy solution should be working for you and not the opposite by adding extra work or costs. Using the right product for the right application is the only way to achieve better long lasting results.
Prevent The Epoxy From Sticking To Your Mold
It is essential to fill all inserts and mold cavities with “Tuck Tape” or “Tyvek” tapes to prevent leaks. Covering the bottom and walls of the mold with Polypropylene film will help prevent the epoxy from sticking to the mold and allow an easy removal of your river table or other epoxy project once the resin is fully cured.
How to seal your mold
Ready to pour your Epoxy
Before pouring the epoxy, it is important to stabilize the wood slabs that will be used for the table top. This can be done by clamping the slabs together to ensure they are tightly secured and will not move during the pouring process. The clamping process helps to prevent warping or shifting of the wood during the curing process.
When clamping the slabs together, it is important to use enough clamps to ensure that the slabs are held tightly together, and to place the clamps in strategic locations to distribute the pressure evenly across the slabs. It’s also important to check for any gaps or low spots between the slabs and fill them with a wood filler or epoxy to have a smooth surface.
Additionally, it’s recommended to level the wood slabs with a straight edge or a jointer before pouring the epoxy, to make sure the surface is as smooth and flat as possible.
Then you can add your piece of wood or recessed element into the mold cavity. Be sure to stabilize your project to prevent it from floating when pouring. Use several blocks of wood covered with Tuck Tape or Tyvek tape throughout the project and then stabilize these using clamps. It is important that your wood plank be as straight as possible to avoid movement.
Demolding your epoxy project
It is important to wait for the epoxy to fully cure before removing the mold. The curing time for epoxy can vary depending on the manufacturer and the specific product being used, but it is generally we at Polymeres Technologies recommended to wait at least 7 days before demolding the epoxy.
The curing time can be affected by factors such as temperature, humidity, and the thickness of the epoxy pour. It is important to follow the manufacturer’s instructions for the specific product being used, as the curing time can vary.
Also, if the epoxy is not fully cured, it may not have reached its full strength and could be at risk of cracking or breaking when the mold is removed. It’s also important to check the epoxy surface for any bubbles or imperfections and sand them out before demolding if necessary.
It’s always a good practice to be patient and let the epoxy cure to its full strength before proceeding with the demolding process, this will ensure a successful outcome of the project.
If the epoxy is demolded too quickly, before it has fully cured, it can result in a number of issues. These include:
- Weakness: If the epoxy is not fully cured, it may not have reached its full strength, and the finished product may be weaker and more prone to cracking or breaking.
- Warping: If the epoxy is demolded before it has fully cured, it may not have fully set and hardened, and the finished product may warp or bend.
- Adhesion failure: if the epoxy is demolded too soon, the bond between the epoxy and the wood may not have fully formed, resulting in adhesion failure, which could cause the epoxy to separate from the wood.
- Delamination: If the epoxy is demolded too soon, it may not have fully cured and could delaminate when the mold is removed, resulting in a separated surface.
By waiting for the epoxy to fully cure before demolding, you can avoid these issues and ensure a successful outcome for your project.
In conclusion, building a melamine mold for an epoxy river table pour is a process that involves several steps, including designing the mold, cutting the melamine, building the mold box, creating the river bed, sealing the mold, applying a release agent, pouring the epoxy and waiting for it to cure before removing the mold.
It’s also important to stabilize the wood slabs with clamps before pouring the epoxy, to prevent warping or shifting of the wood during the curing process. and check for any gaps or low spots between the slabs and fill them with a wood filler or epoxy to have a smooth surface.
Waiting for the epoxy to fully cure before removing the mold is crucial for the success of the project, as demolding the epoxy too quickly can result in weakness, warping, bubbles, adhesion failure, cloudy appearance, and delamination. By following these steps, and taking the time to ensure that the epoxy is fully cured before demolding, you can create a beautiful and durable epoxy river table.
If you have any further questions on building a melamine mold for an epoxy river table pour or any other related subject, please feel free to contact us at [email protected]. Our team of experts is dedicated to providing you with the information and support you need to complete your project with success. We are here to help, so don’t hesitate to reach out to us.”